
Sharing with all of you what I am working in Antonus related to the DIY comunity:
For a long time I have been thinking about making a DIY section for Antonus. Many years in DIY, both at the user level and at the teacher level in workshops, but always separating the DIY activity from what Antonus equipment manufacturing is.
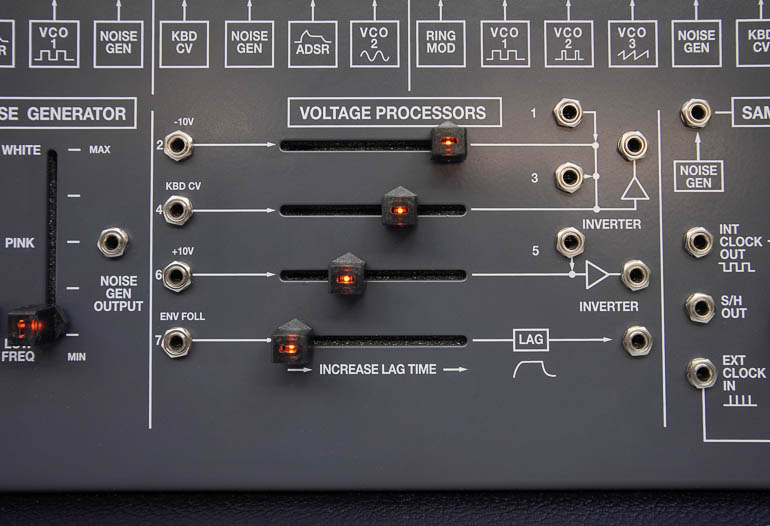
During these years I have been receiving more and more requests to offer Antonus equipment in DIY and although I enjoy both activities very much, it was not until the manufacture of the 2600 Original Size that I really found motivation and sense to start the Antonus DIY division.
It took more than five years with the manufacture of the small size of 2600 gathering information and experience to optimally consume the recreation of the 2600 in its original size. The idea of the 2600 Original Size in DIY format seems interesting to me because it means offering the possibility of building a 2600 in original size, with all that that implies. This project is going to mean something very special for those who want to live the experience of assembling an instrument of this level and on this scale. Obviously for those who know how the Antonus 2600 is manufactured, this is using thru-hole components respecting the original design and its components. Using original components, thru-hole, wiring… it’s not the easiest or cheapest way, but it will allow you to respect the original character, its sound, its behavior and the sensation that the instrument transmits (something very special). Also, once the experience and result are over, the user has to feel the sensation of having built an original 2600. It will not be a kit for beginners, on the contrary it will be a kit for advanced people with experience in kitting for several reasons:
It is a very dense project as many components and many soldering points. If the user does not have a good experience, it can be chaos if user makes a mistake in positions, values, polarities or performs poor soldering.
Good tools are needed to assemble and calibrate. Being a device with many components, it is recommended to have good soldering equipment and, in case of mistakes, good equipment or desoldering techniques (very important point to avoid damaging PCBs).
Big work space. It’s a big device, very old school. I have no idea if there is a DIY project bigger than this, so it’s going to involve a large work surface. At first it can be assembled from small parts and then move on to the three motherboards that make up the 2600 panel. And then in the final stage the assembly of all the parts is carried out to later calibrate the entire equipment. If you do not have a good work table with good order and cleanliness, it can be quite complicated to assemble such device
And especially, a lot of patience. It is a project with many hours of work until reaching the end, so it is not recommended for impatient users who want to solve the project in a few days.
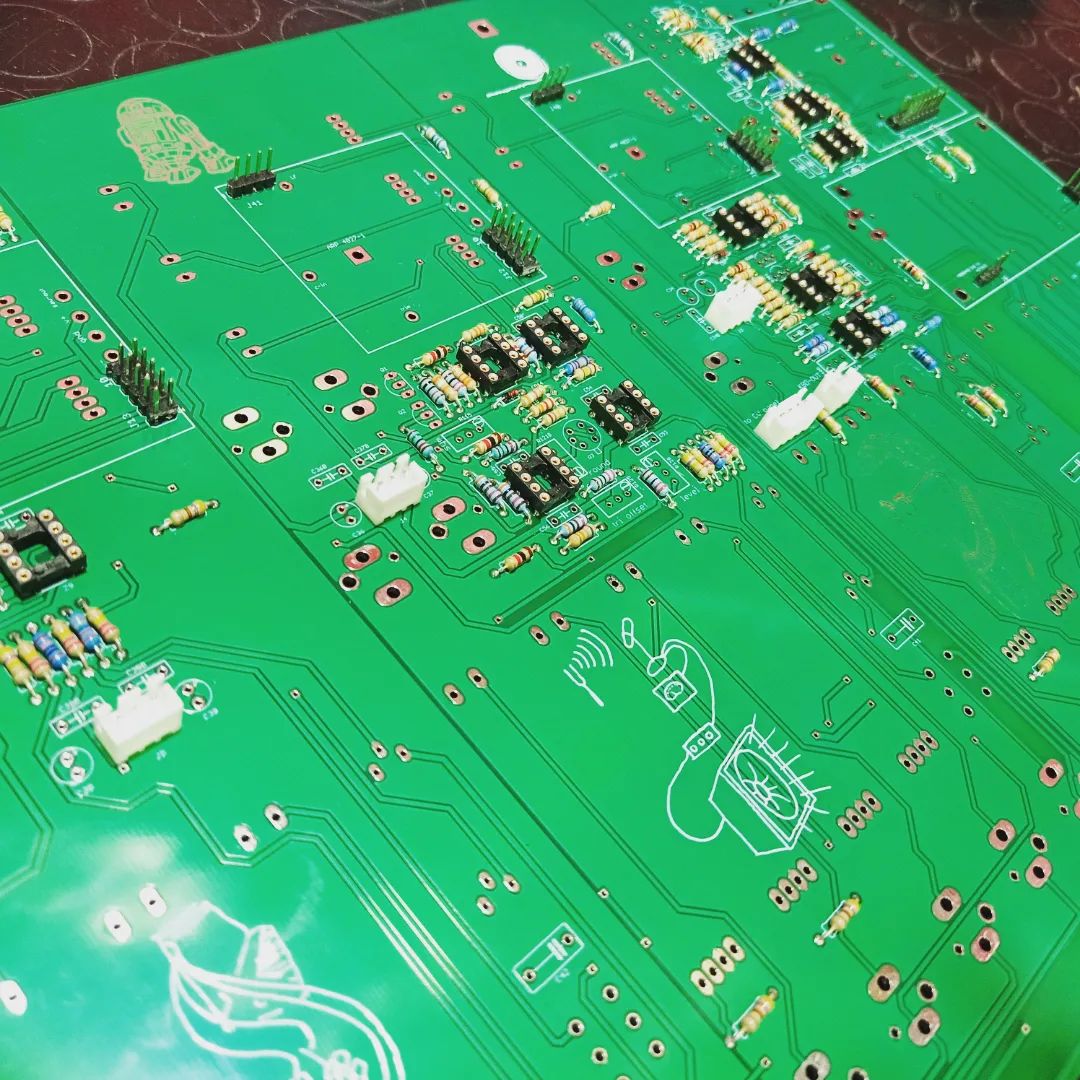
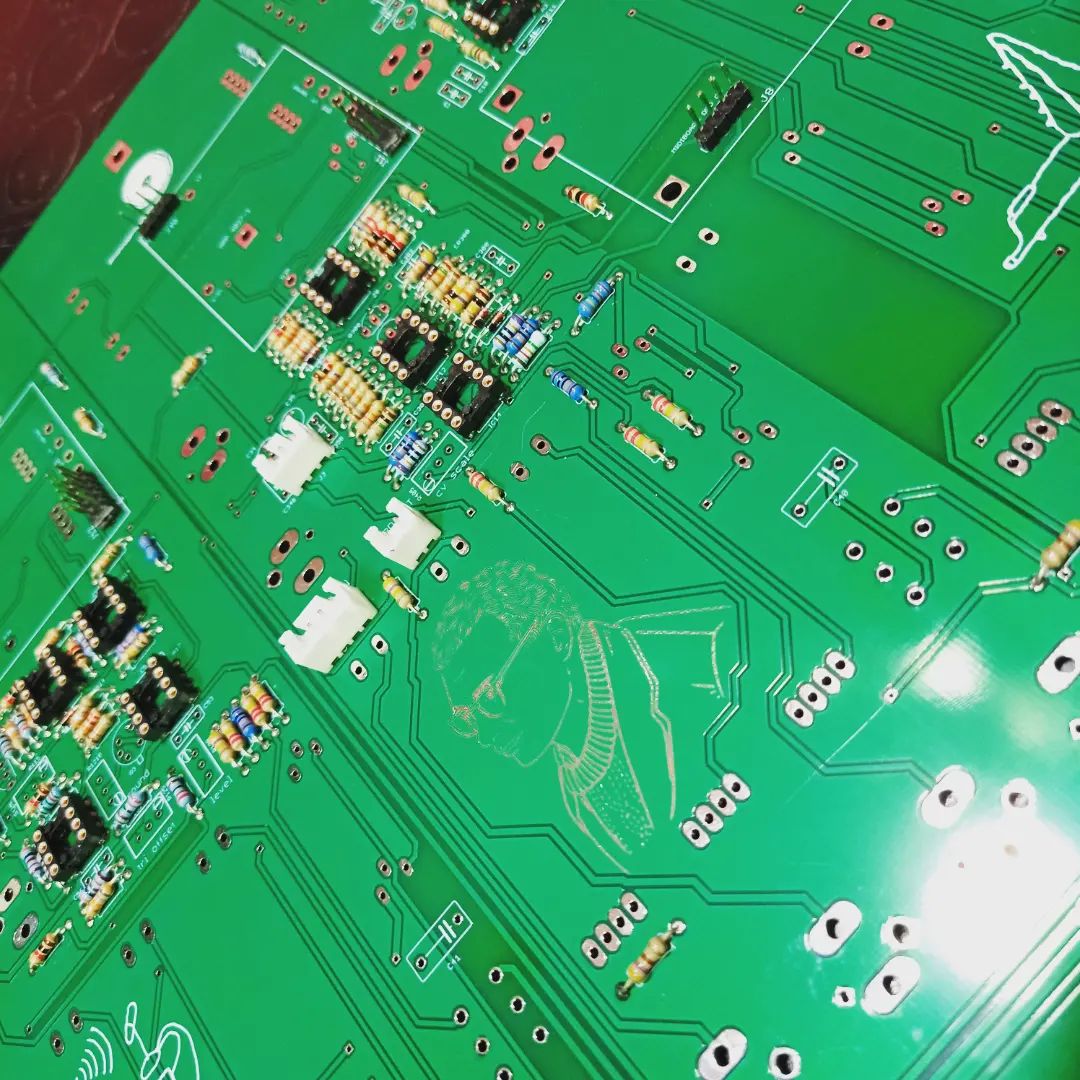
The internal build design is based just like the original on motherboards where the famous ARP submodules are connected. The module sockets have double footprints, to allow easy connection to both Antonus and ARP versions. Even the Antonus modules have the pins to be connected to the ARP boards. With this, total interconnection between ARP and Antonus is allowed. One can use Antonus modules to repair an old ARP2600 or use ARP modules on the Antonus 2600, demonstrating full compatibility between both instruments.
There are still some things to be resolved for the DIY version and it is mainly what concerns the cabinet part. The Antonus 2600 OS is made by replicating the famous Tolex-lined briefcase. In fact, this part is one of the most difficult and slowest of the process. At Antonus we have the workshop divided into two parts, one for electronics and the other for assembling the cases.
The drawback of offering the Tolex cabinet for DIY users is not only the price of the finished case, which due to materials and process adds a lot to the final price, but also that in Antonus we have a production limit of a few cases per month, so in the case of tackling the DIY, it could be the case of not being able to supply enough Tolex cases for all users.
That is why I am already starting to develop a case dedicated to the DIY version. The premises:
It has to be much more affordable than the Tolex case,
That it can be supplied disassembled for a more economical and efficient transport when sent by courier.
Relatively easy to assemble.
Build quality and stability.
Follow the design inspiration of the ARP2600
I will take you through the question of the design of the DIY case of the 2600 OS, it has a design very similar to the case of the Blue Marvin and Gray Meanie, the prototype versions made in aluminum by ARP before going into production with the Tolex roadcase. I already have an idea of how to make a similar design that meets these premises and maintains all the original ARP spirit.
I’m still in this DIY case design stage, I hope to upload the first images shortly.
The DIY section will be developed on the one hand in the Modwiggler Forum, where everything that has to do with Antonus DIY will be developed and expanded in a community way. And on the other hand, the very important support of Patrick Dslman on his fantastic DIY website, a great reference for years for Synth DIY enthusiasts. https://www.dsl-man.de
Although obviously you can see publications of the DIY part on the Antonus site, on Facebook and Instagram the most current and expanded information will be focused on the Modwiggler Forum and the DSLman Site. Since the DIY part also has a community component, it will be the best way to develop and evolve the project.