
DIY Kit for 2600
"Live the experience of assembling an instrument like the 2600 by yourself."
We use thru- hole components just like the original design. We know that is not the easiest instrument to assembly but after building it you will know the behaviour and sensation that this instrument transmits.
It is an advanced kit, for those who have experience in kitting. This is because it is a dense project with different soldering points.
Recommendations
We know that is not an easy work, that is why we recommend having the following stuff:
- Good tools to assemble and calibrate.
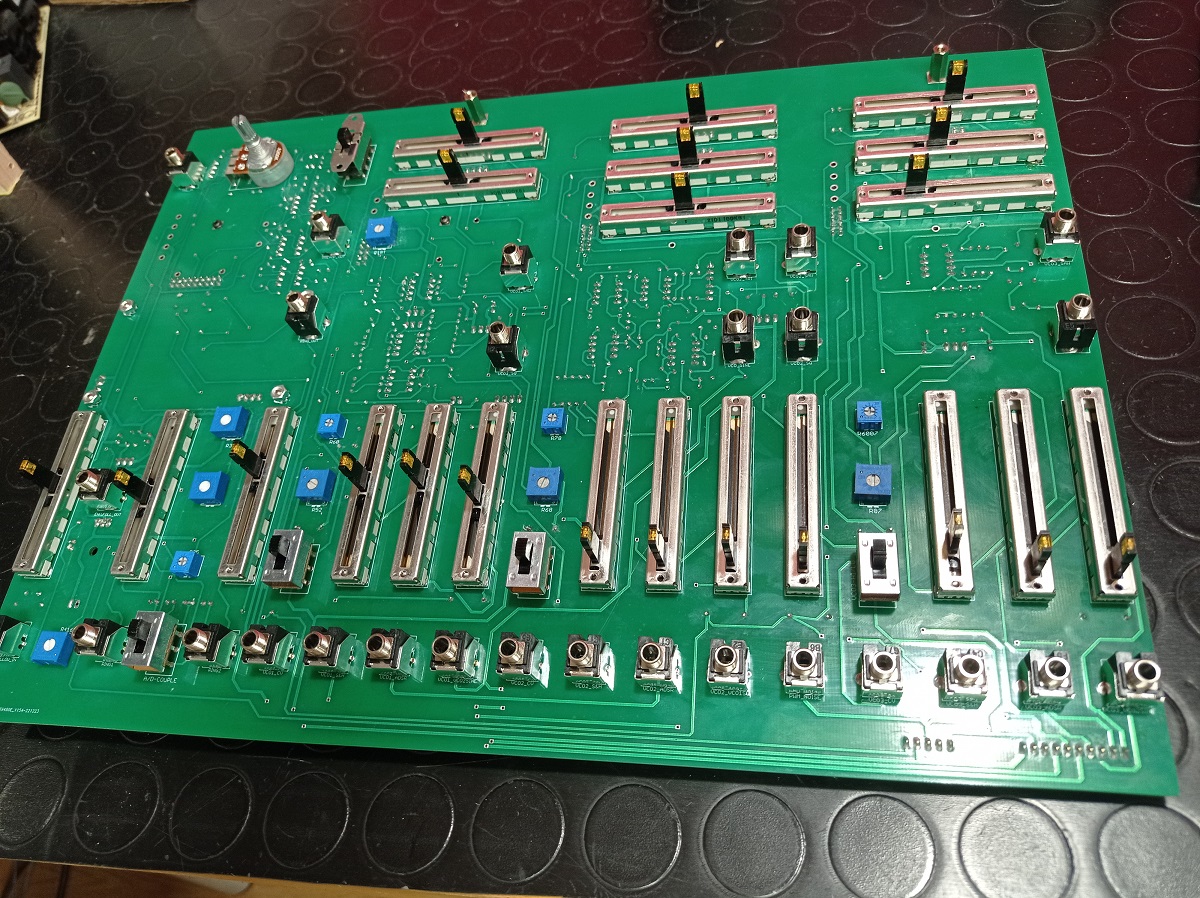
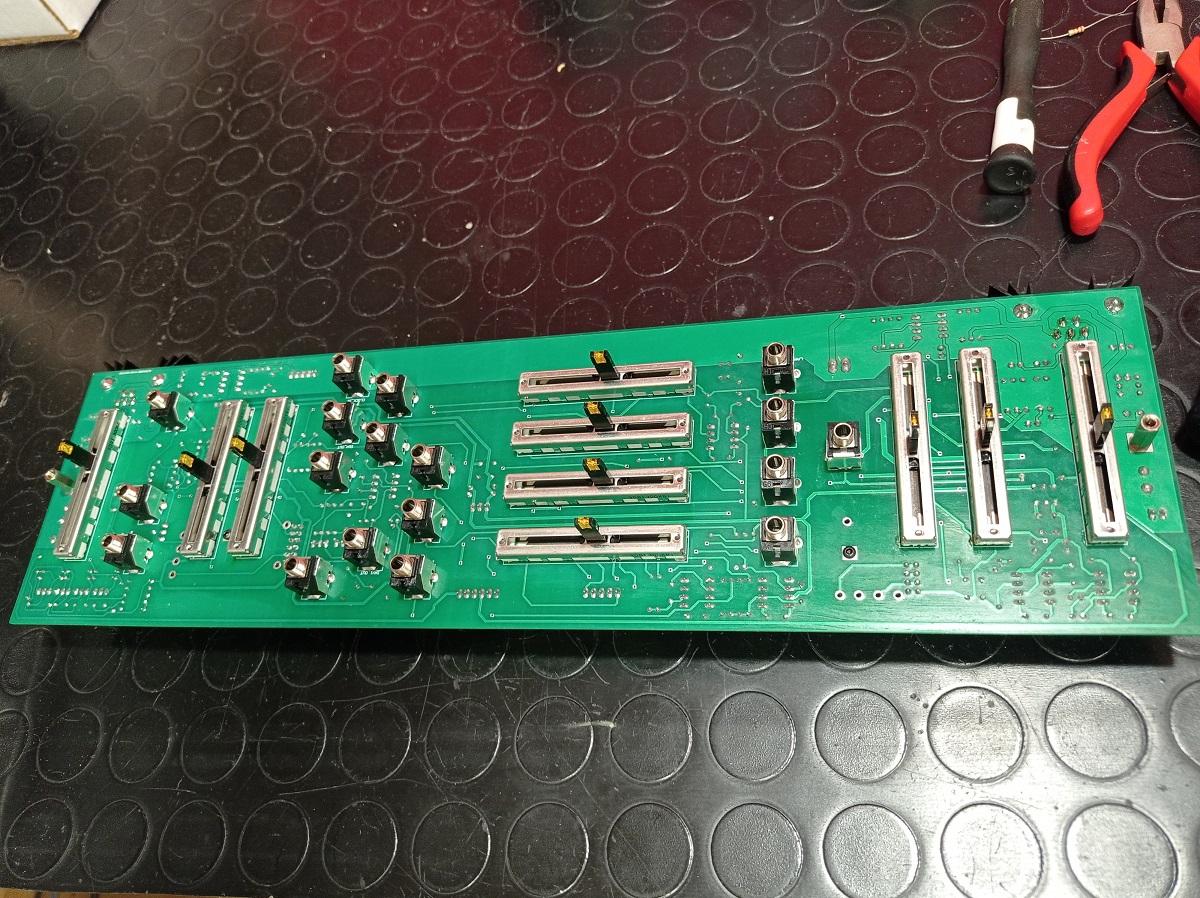
- A large work surface is needed because of the size of the instrument. We recommend assembling the small parts and then moving on to the three motherboards that make up the 2600 panel and then at the final stage is the calibration of the equipment.
- You can find technical documentation at the end ot this page. It is detailed with schematics, layouts, and BOM files but there is not the typical building guide with detailed steps and procedures that helps to non experienced builders. If the experience with the first batch goes well it will help to develop a building guide for bring access to less skilled builders to make this project.
The Modwiggler thread will be very useful for document all the progress about that.
Also, we recommend for consulting a classic site for DIY builders, the Patrick Dslman site:
Also very recommended the videos of Zed Audiolab, useful timelapses for visual references and further details:
We recommend being organized and tidy; given the large number of components, a messy workspace can make things difficult. And last but not least, patience. It is a really big project, it requires a lot of time until the end.
And also if you are looking for a builder in your country write to us for see if we can make contact with a recommended builder suitable for you.
One important tip we are use to say is that we don’t recommend to go for the DIY for people that only want save money of purchase, because the amount of work and many details is high, even more if the builder is not a pro DIY user, in most cases is more affordable to purchase built. We recommend this adventure for the people that likes and feels a value building by itself this kind of instruments, for make custom finish or mods… having the knowledge and skills for build and also keep in service in a future. As this instruments are designed in serviceability in the future is a great value that someone can do by itself.
About the Design
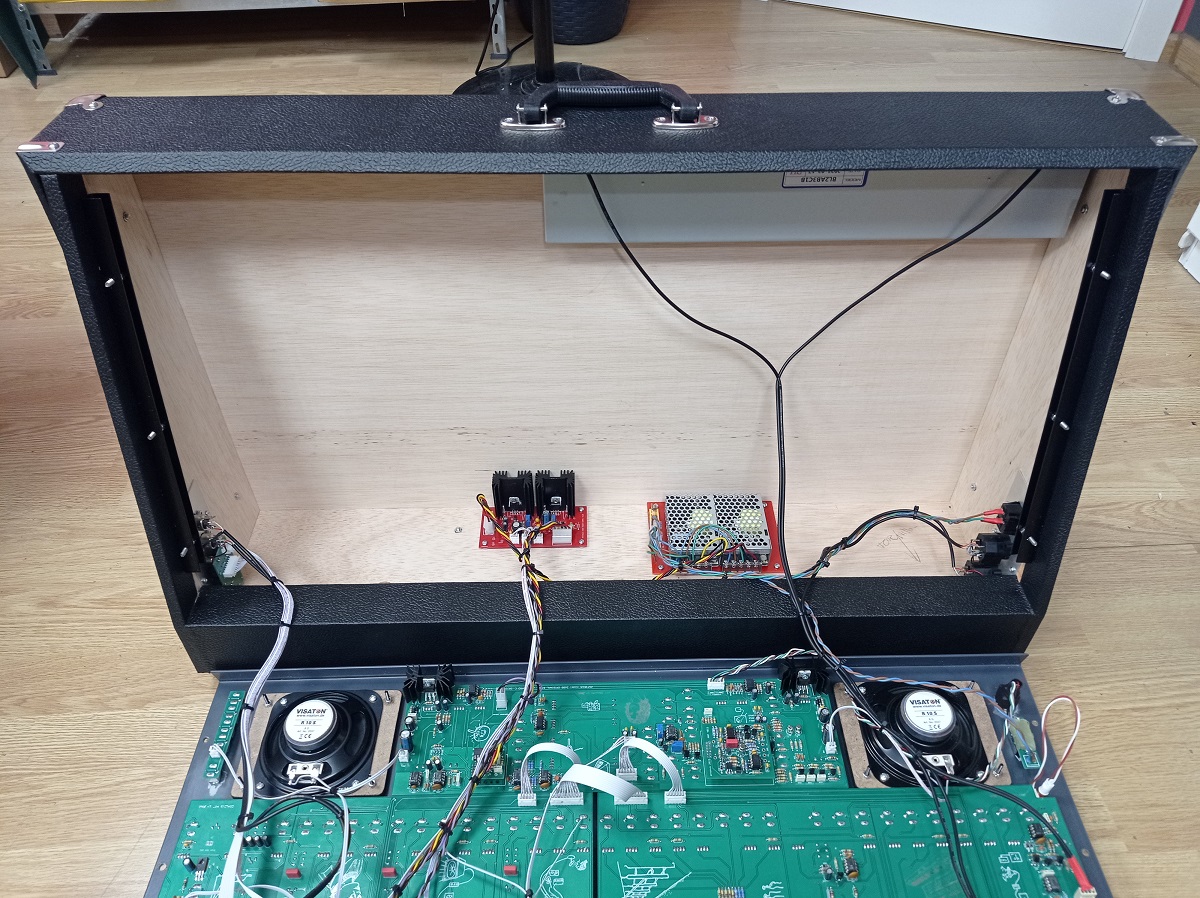
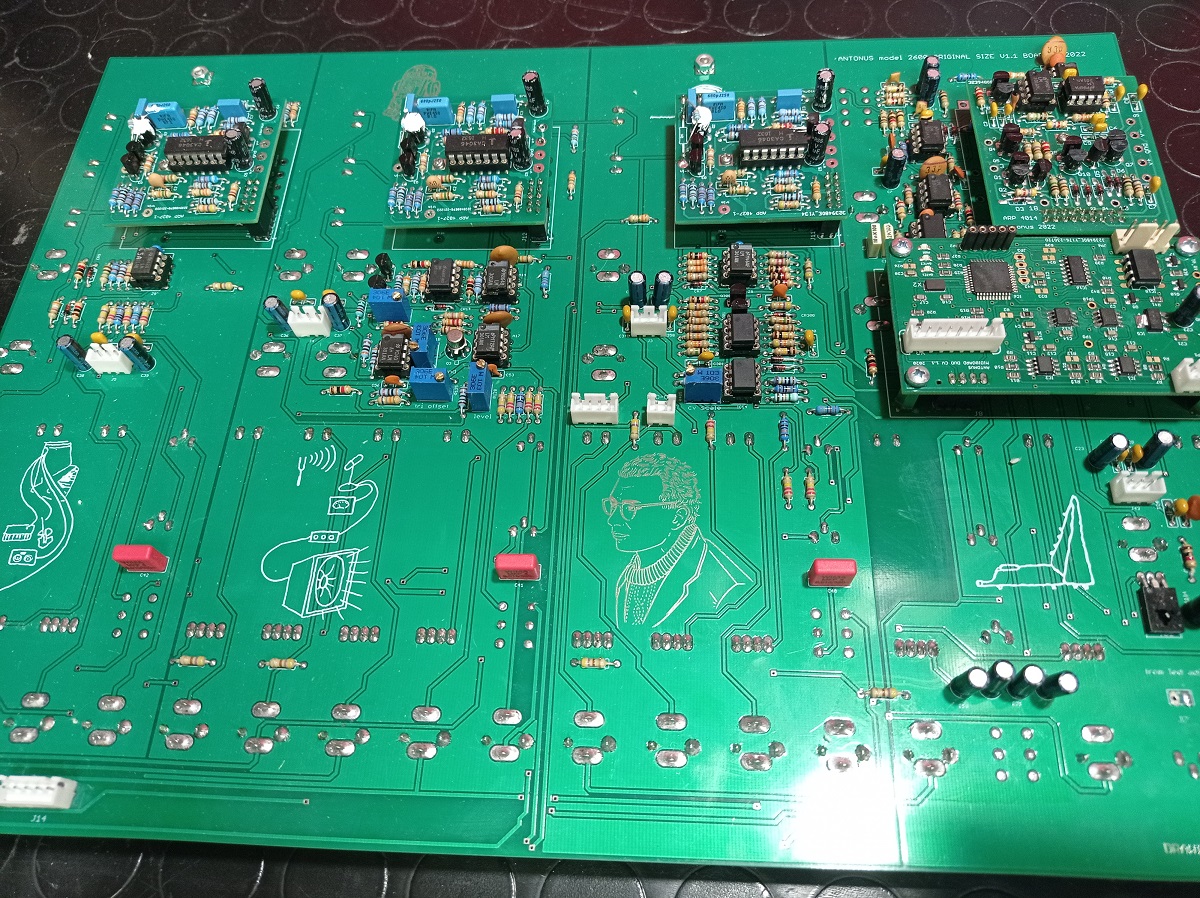
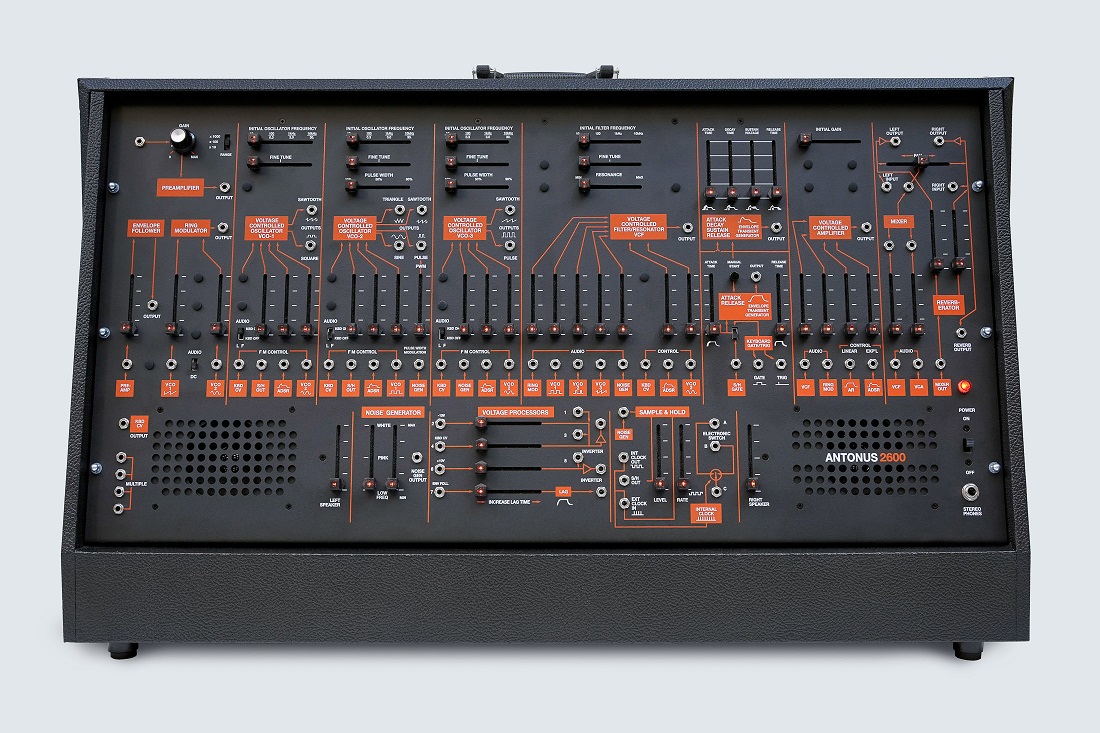
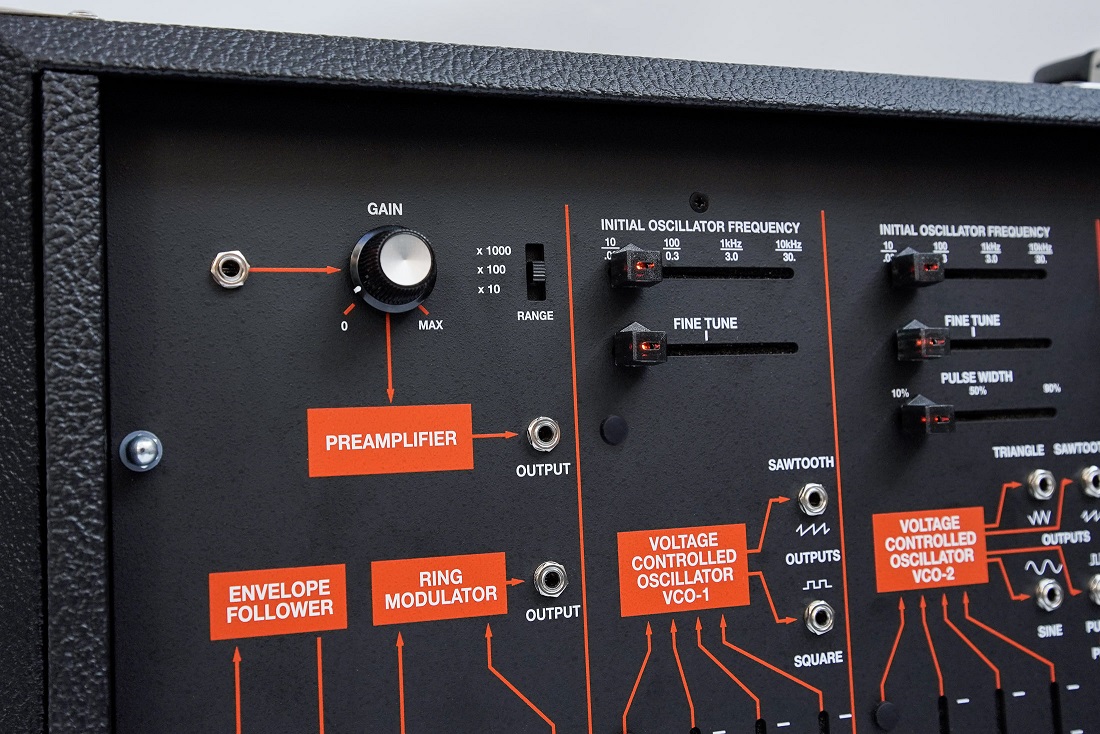
The internal build design is based just like the original with motherboards where the famous ARP submodules are connected.
The module sockets have double footprints, to allow easy connection to both Antonus and ARP versions. Even the Antonus modules have the pins to be connected to the ARP boards. This way, total interconnection between ARP and Antonus is allowed.
Note that, you can use Antonus modules to repair an old ARP2600 or use ARP modules on the Antonus 2600, this denotes full compatibility between both instruments.
Style
Tolex vs. Metal
One important aspect of this project is the case itself. We will offer two options:
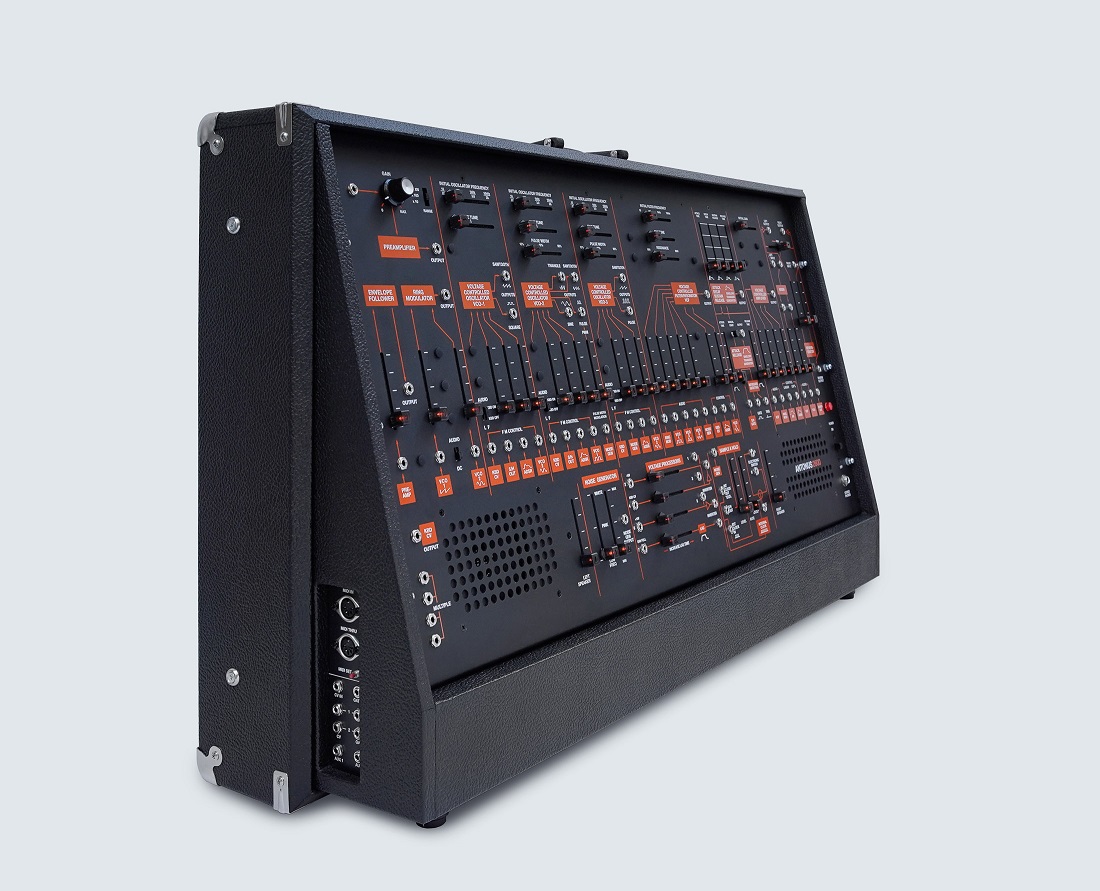
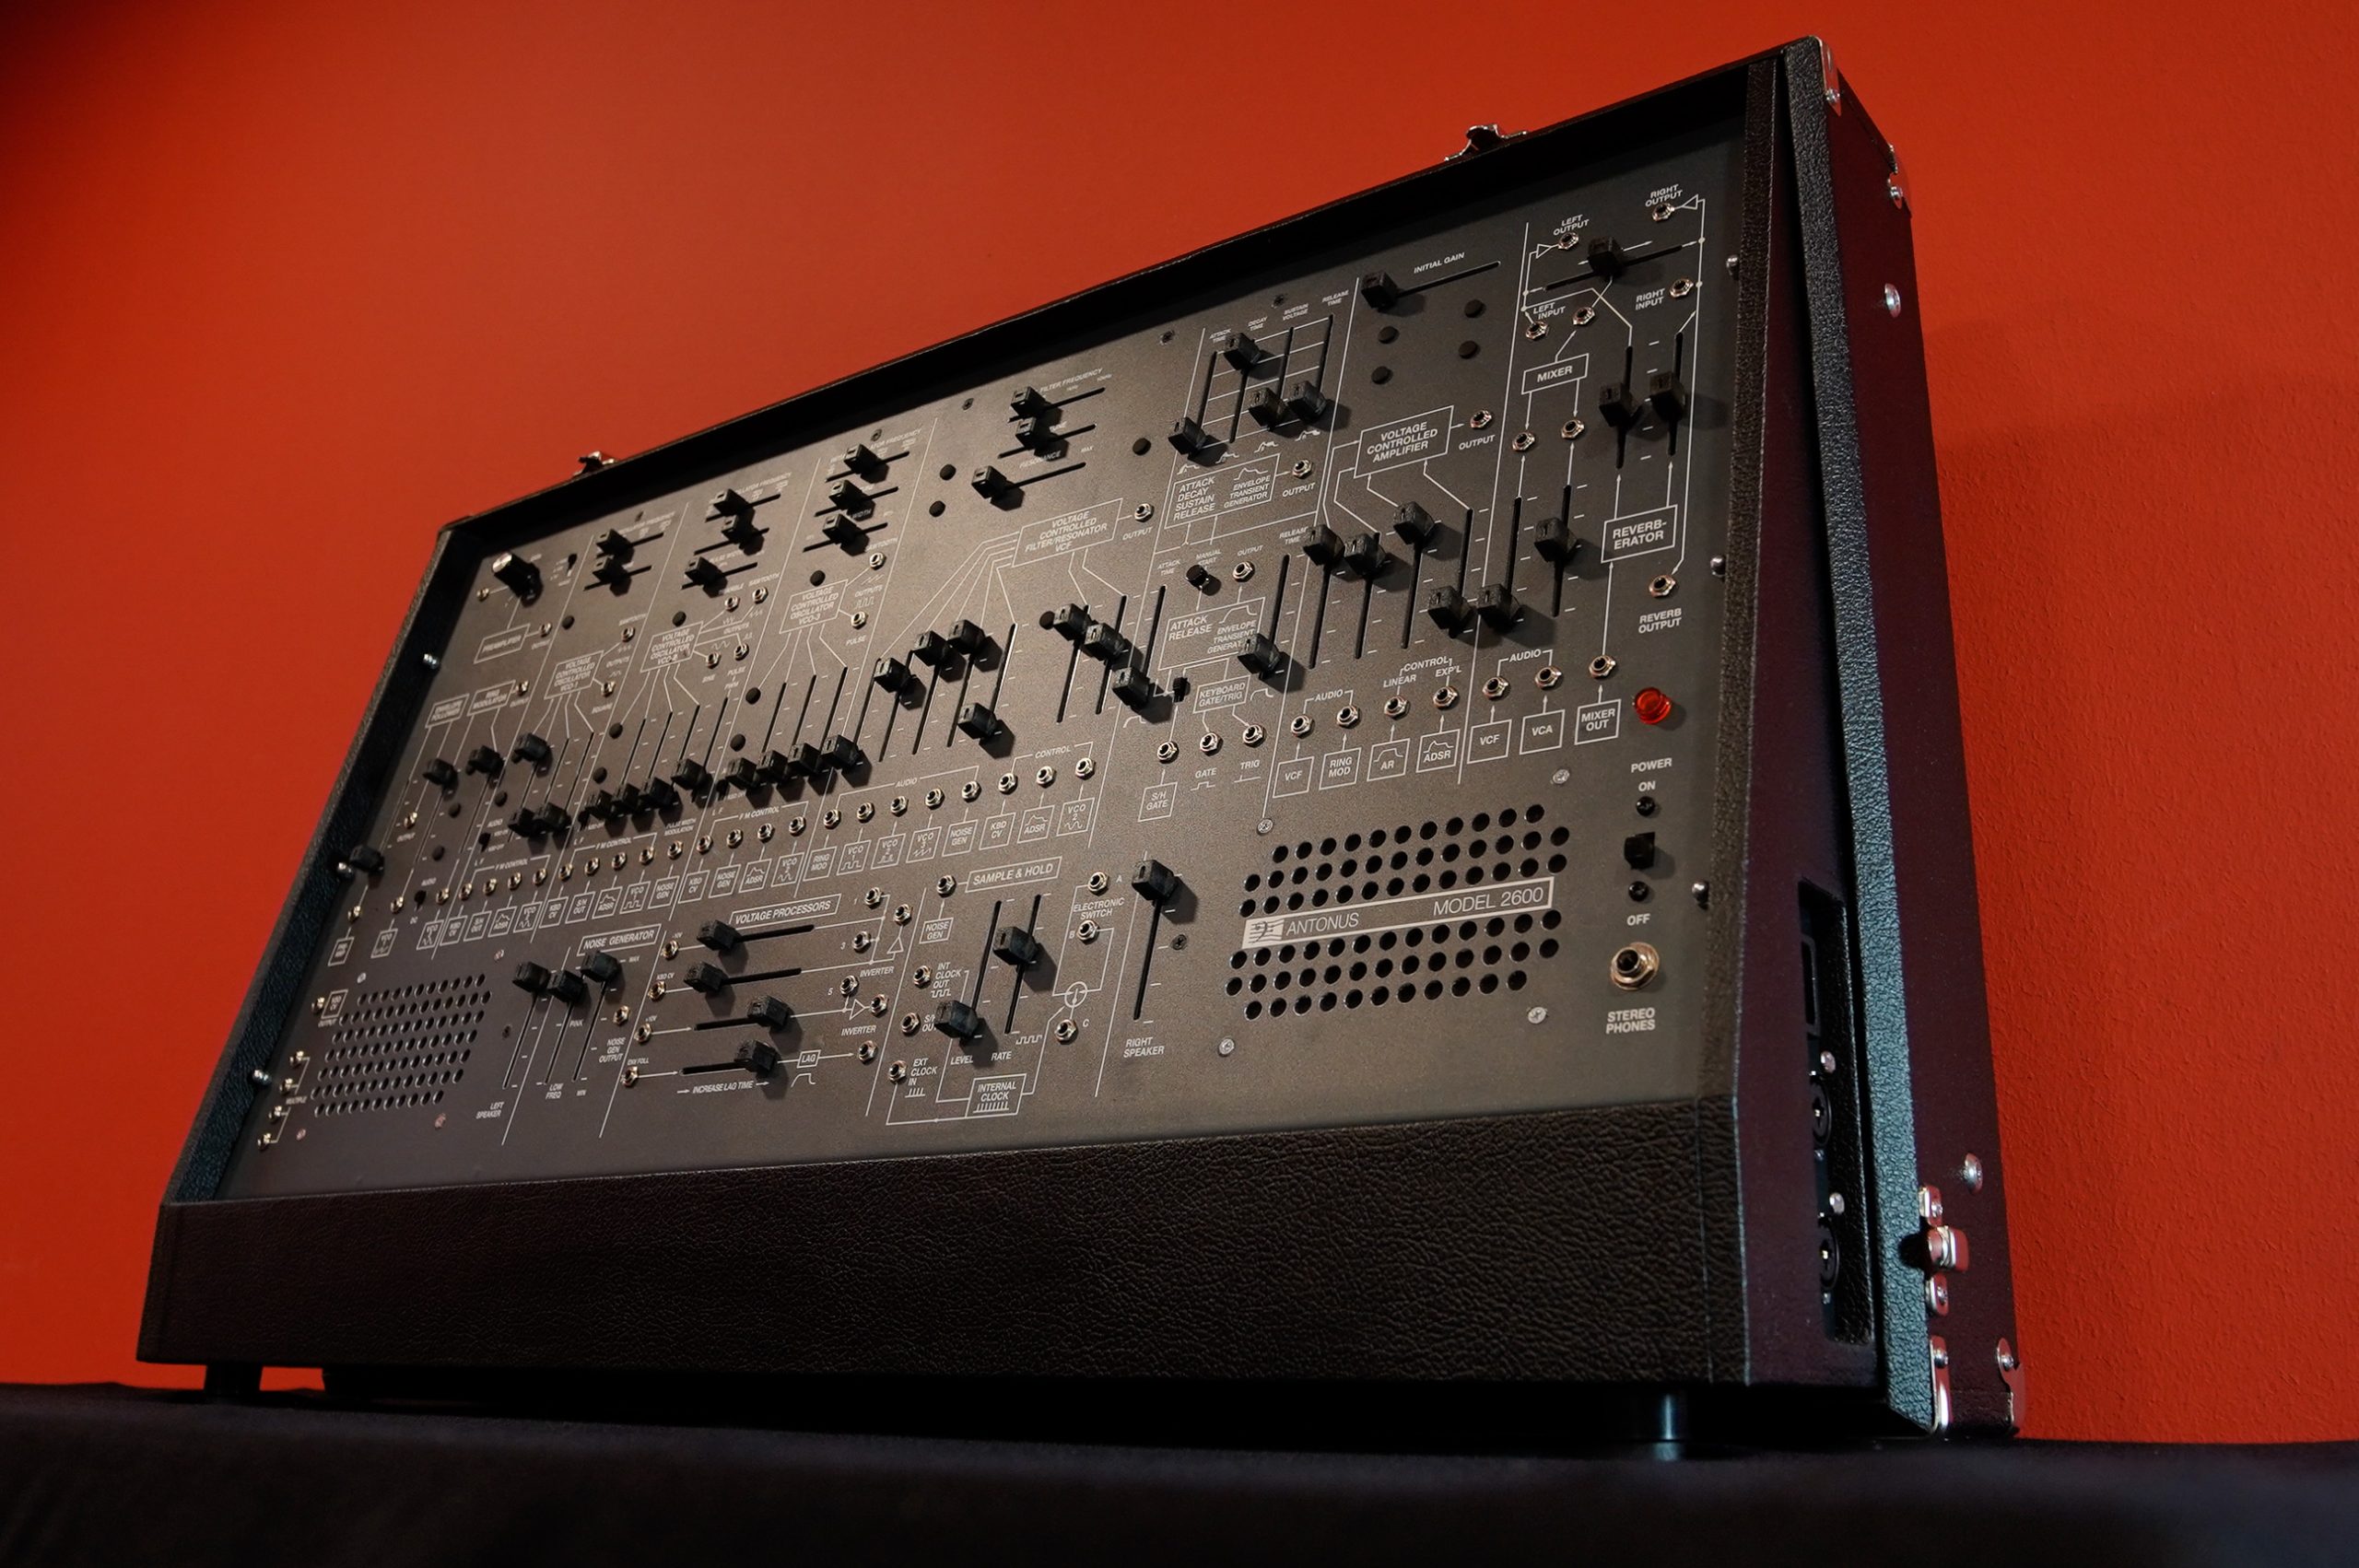
The classic Tolex Road case, a replica of the original ARP2600. The most faithful, and also transportable option. This is the most wanted version because the tolex case makes it very easy to transport it and also as it is a handcrafted product, you can customize the tolex in the color of your choice.
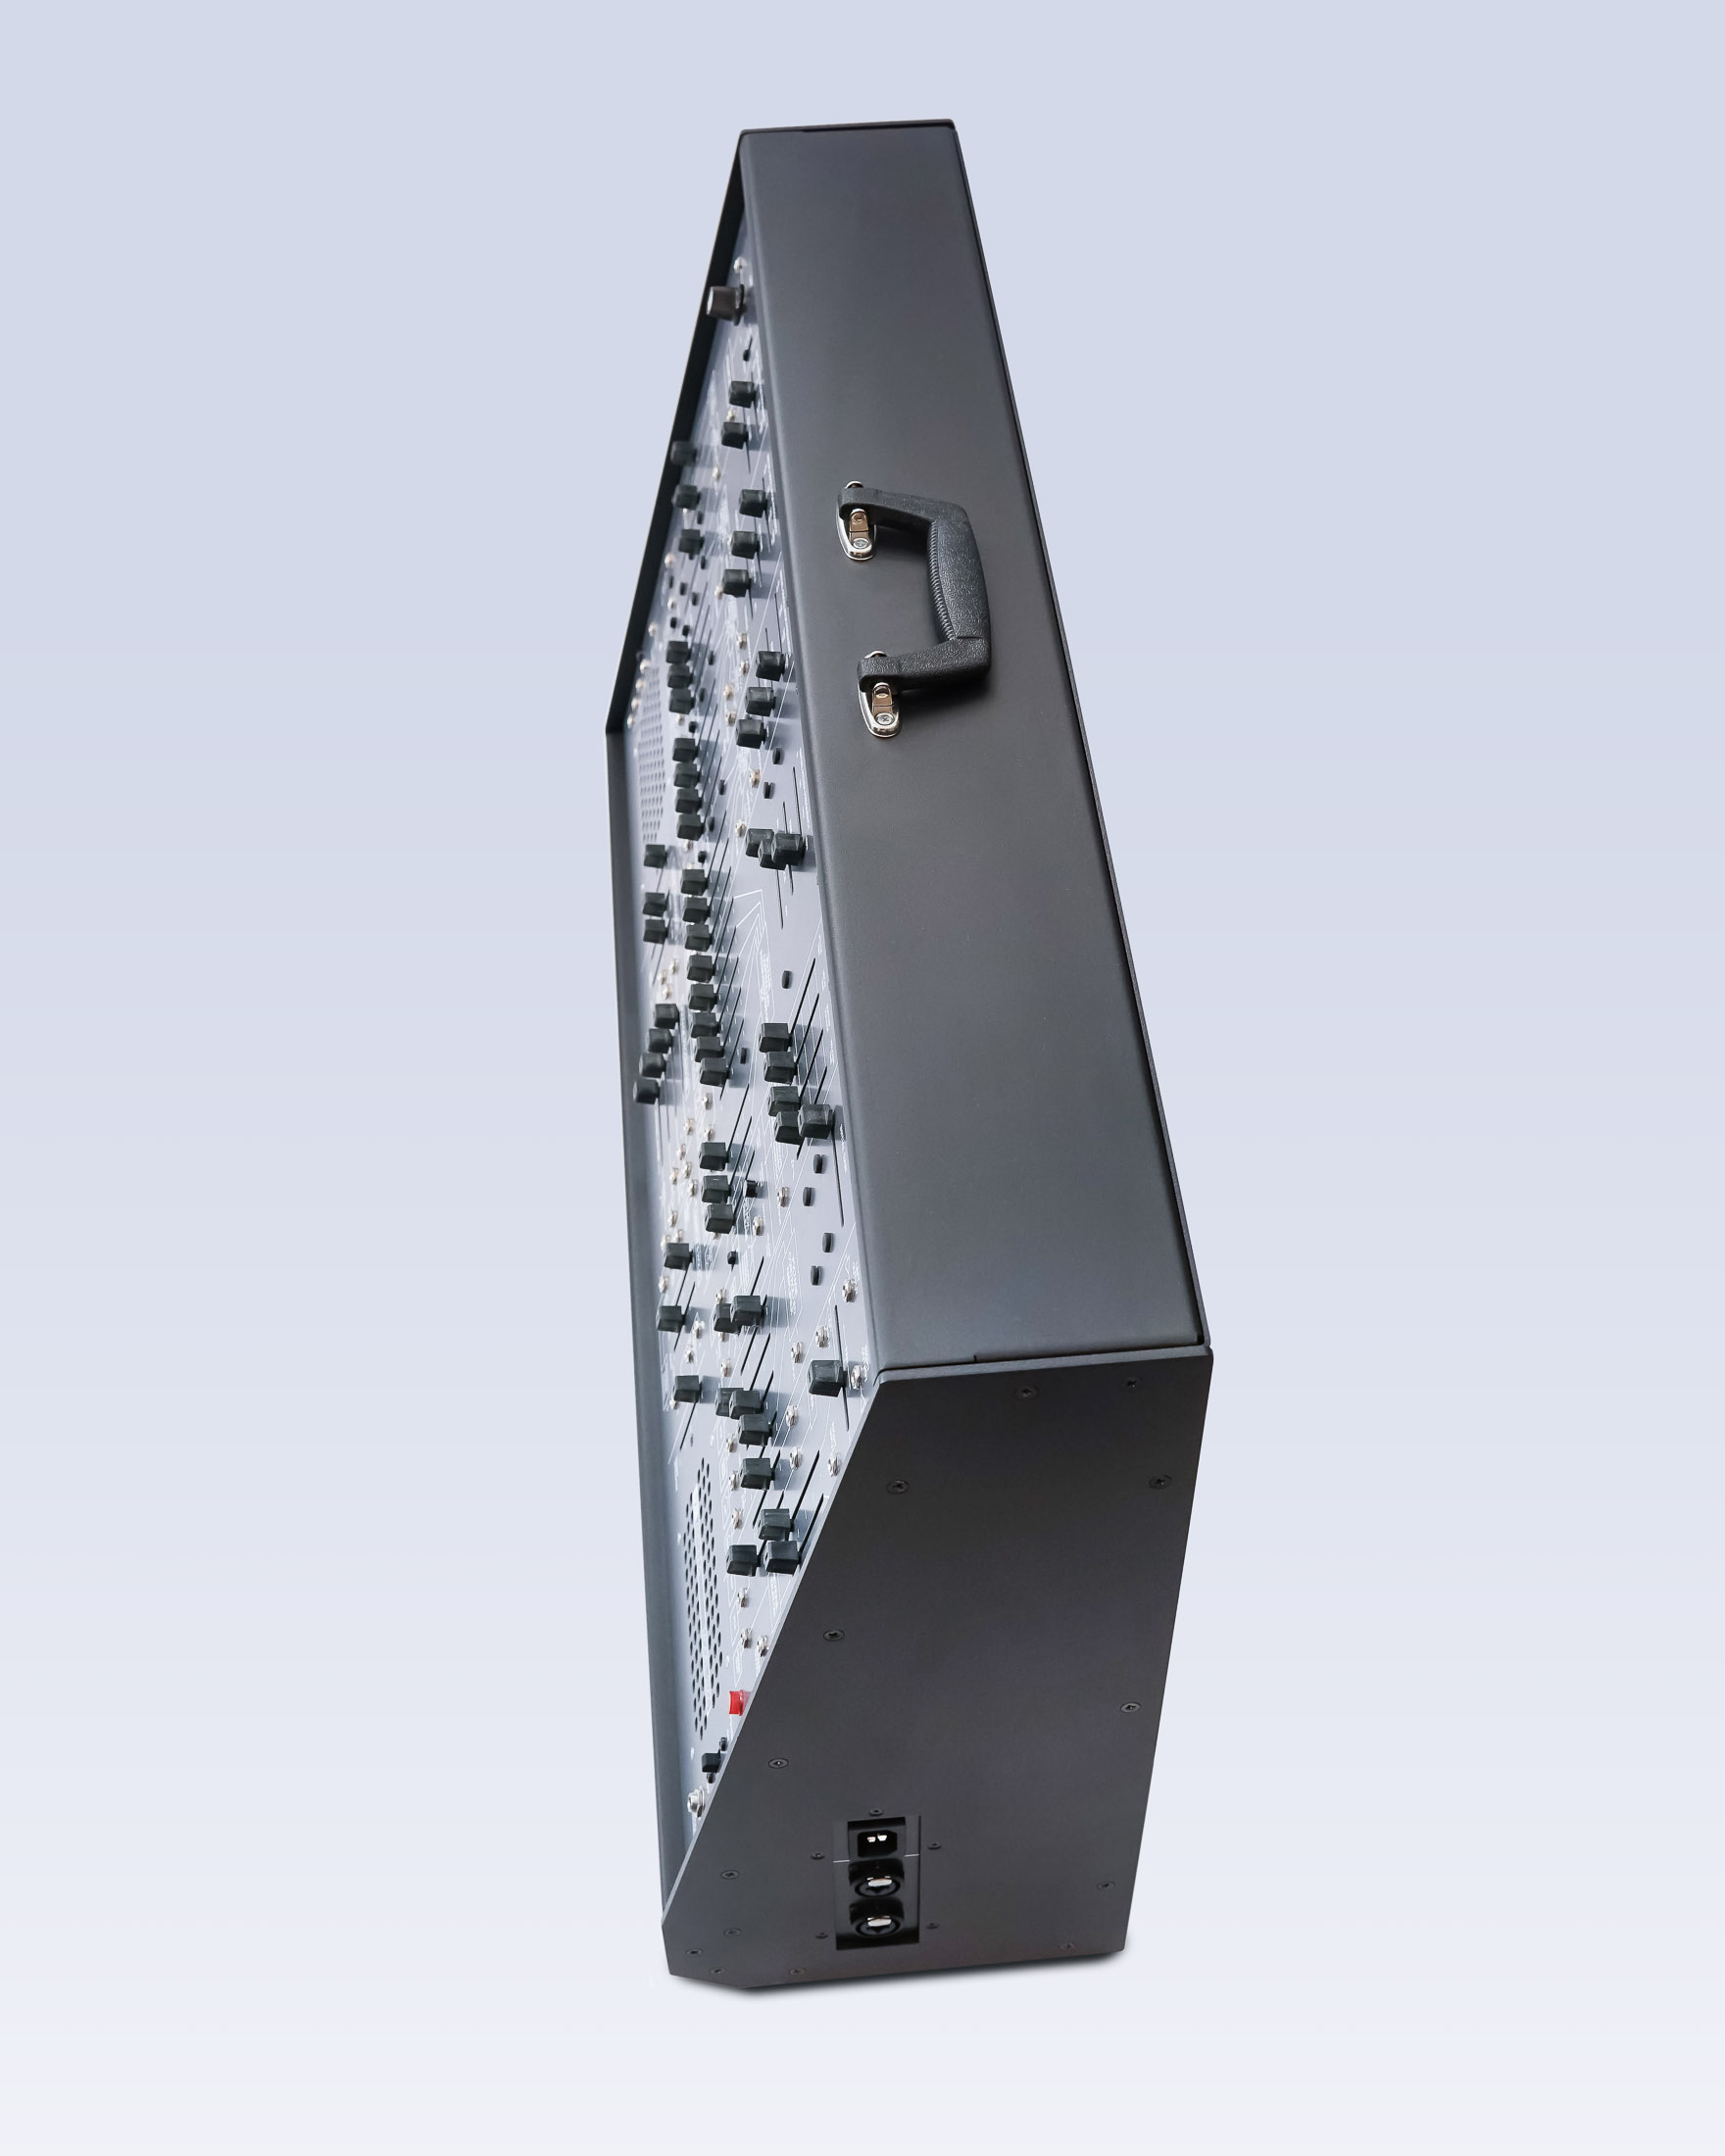
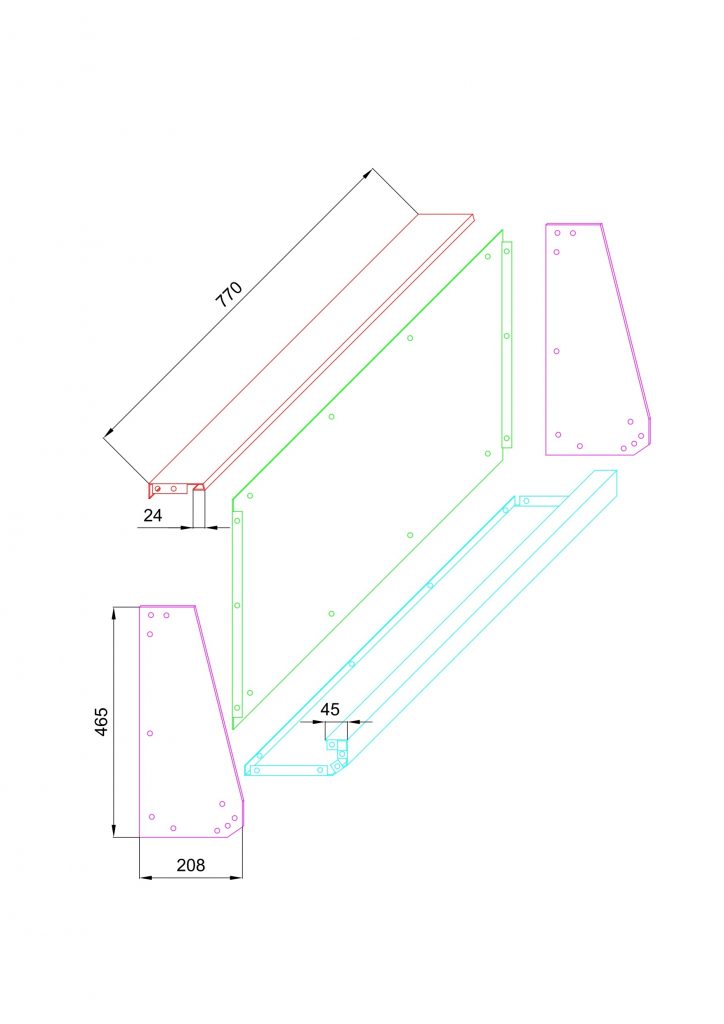
The Metal Case option is a modern and more affordable option. Finished in a textured black paint, this steel enclosure offers a compact and elegant footprint for the contemporary studio. This case, more recommended for studio use.
Both options were built prioritizing quality and stability. They are easy to assemble as long as you follow the installation instructions.
We recommend to check the blog entry for the metal case installation:

DIY Kits
The DIY options we offer for the 2600 are the following:

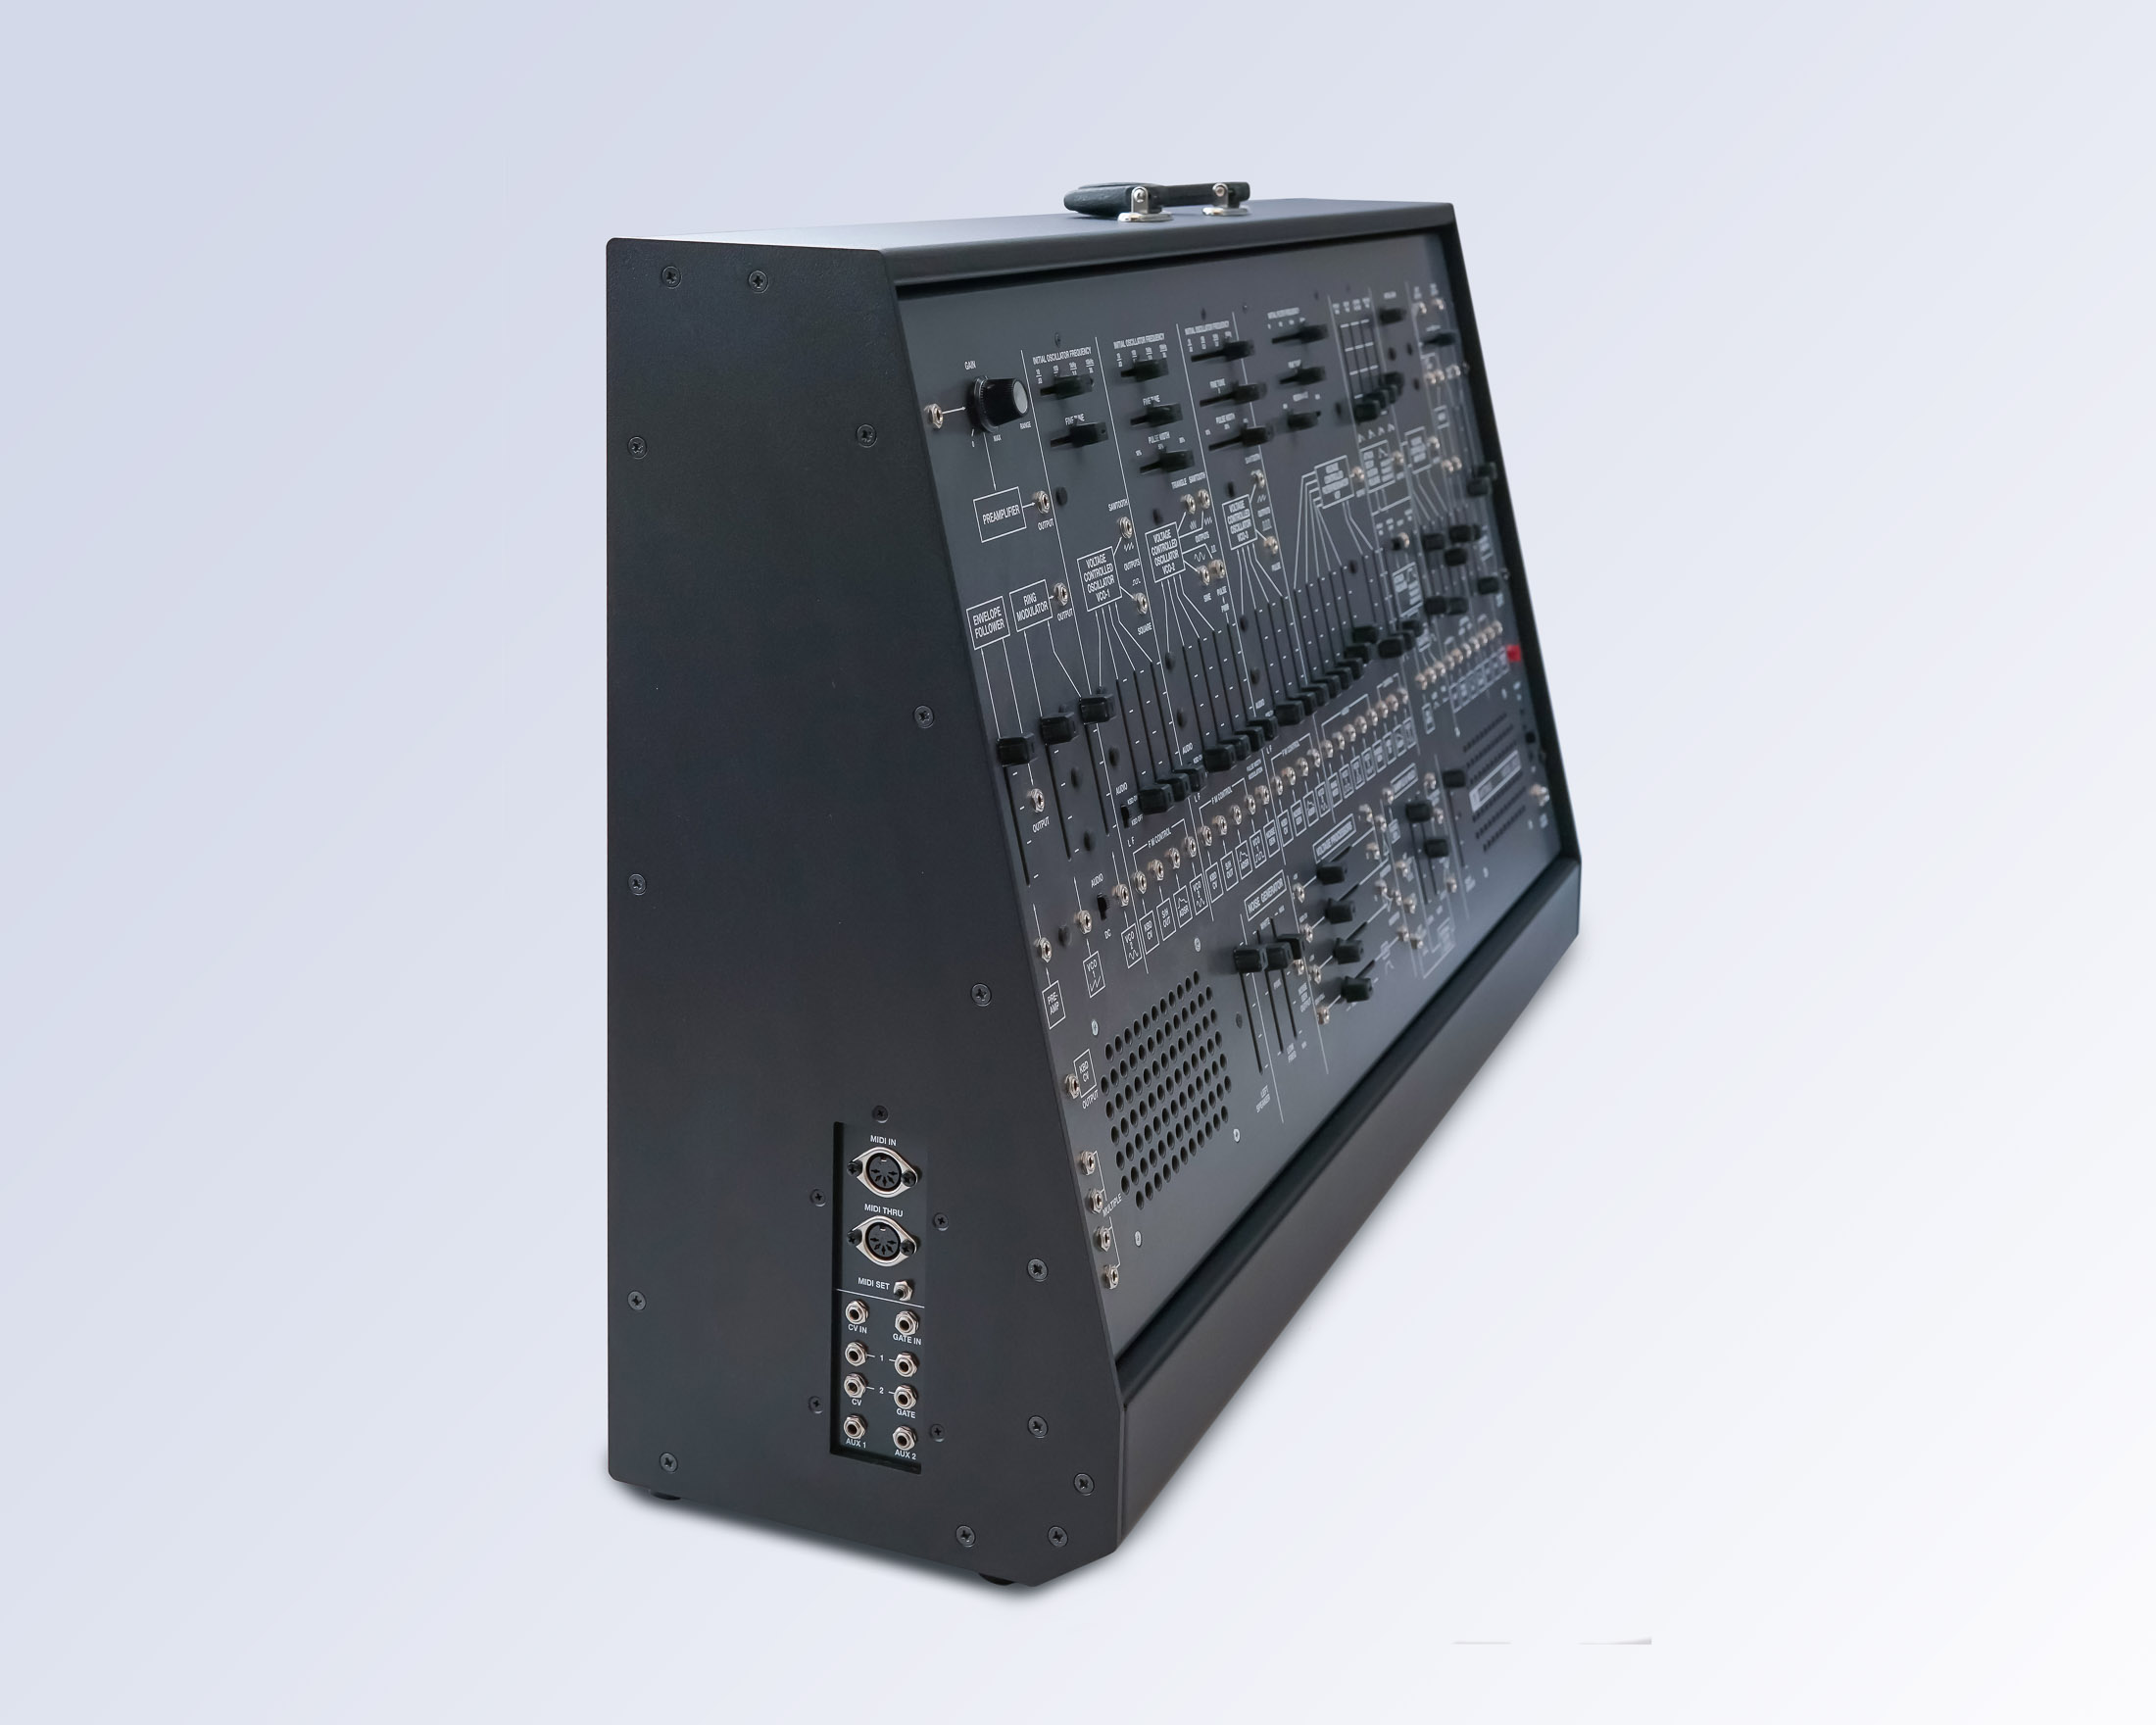

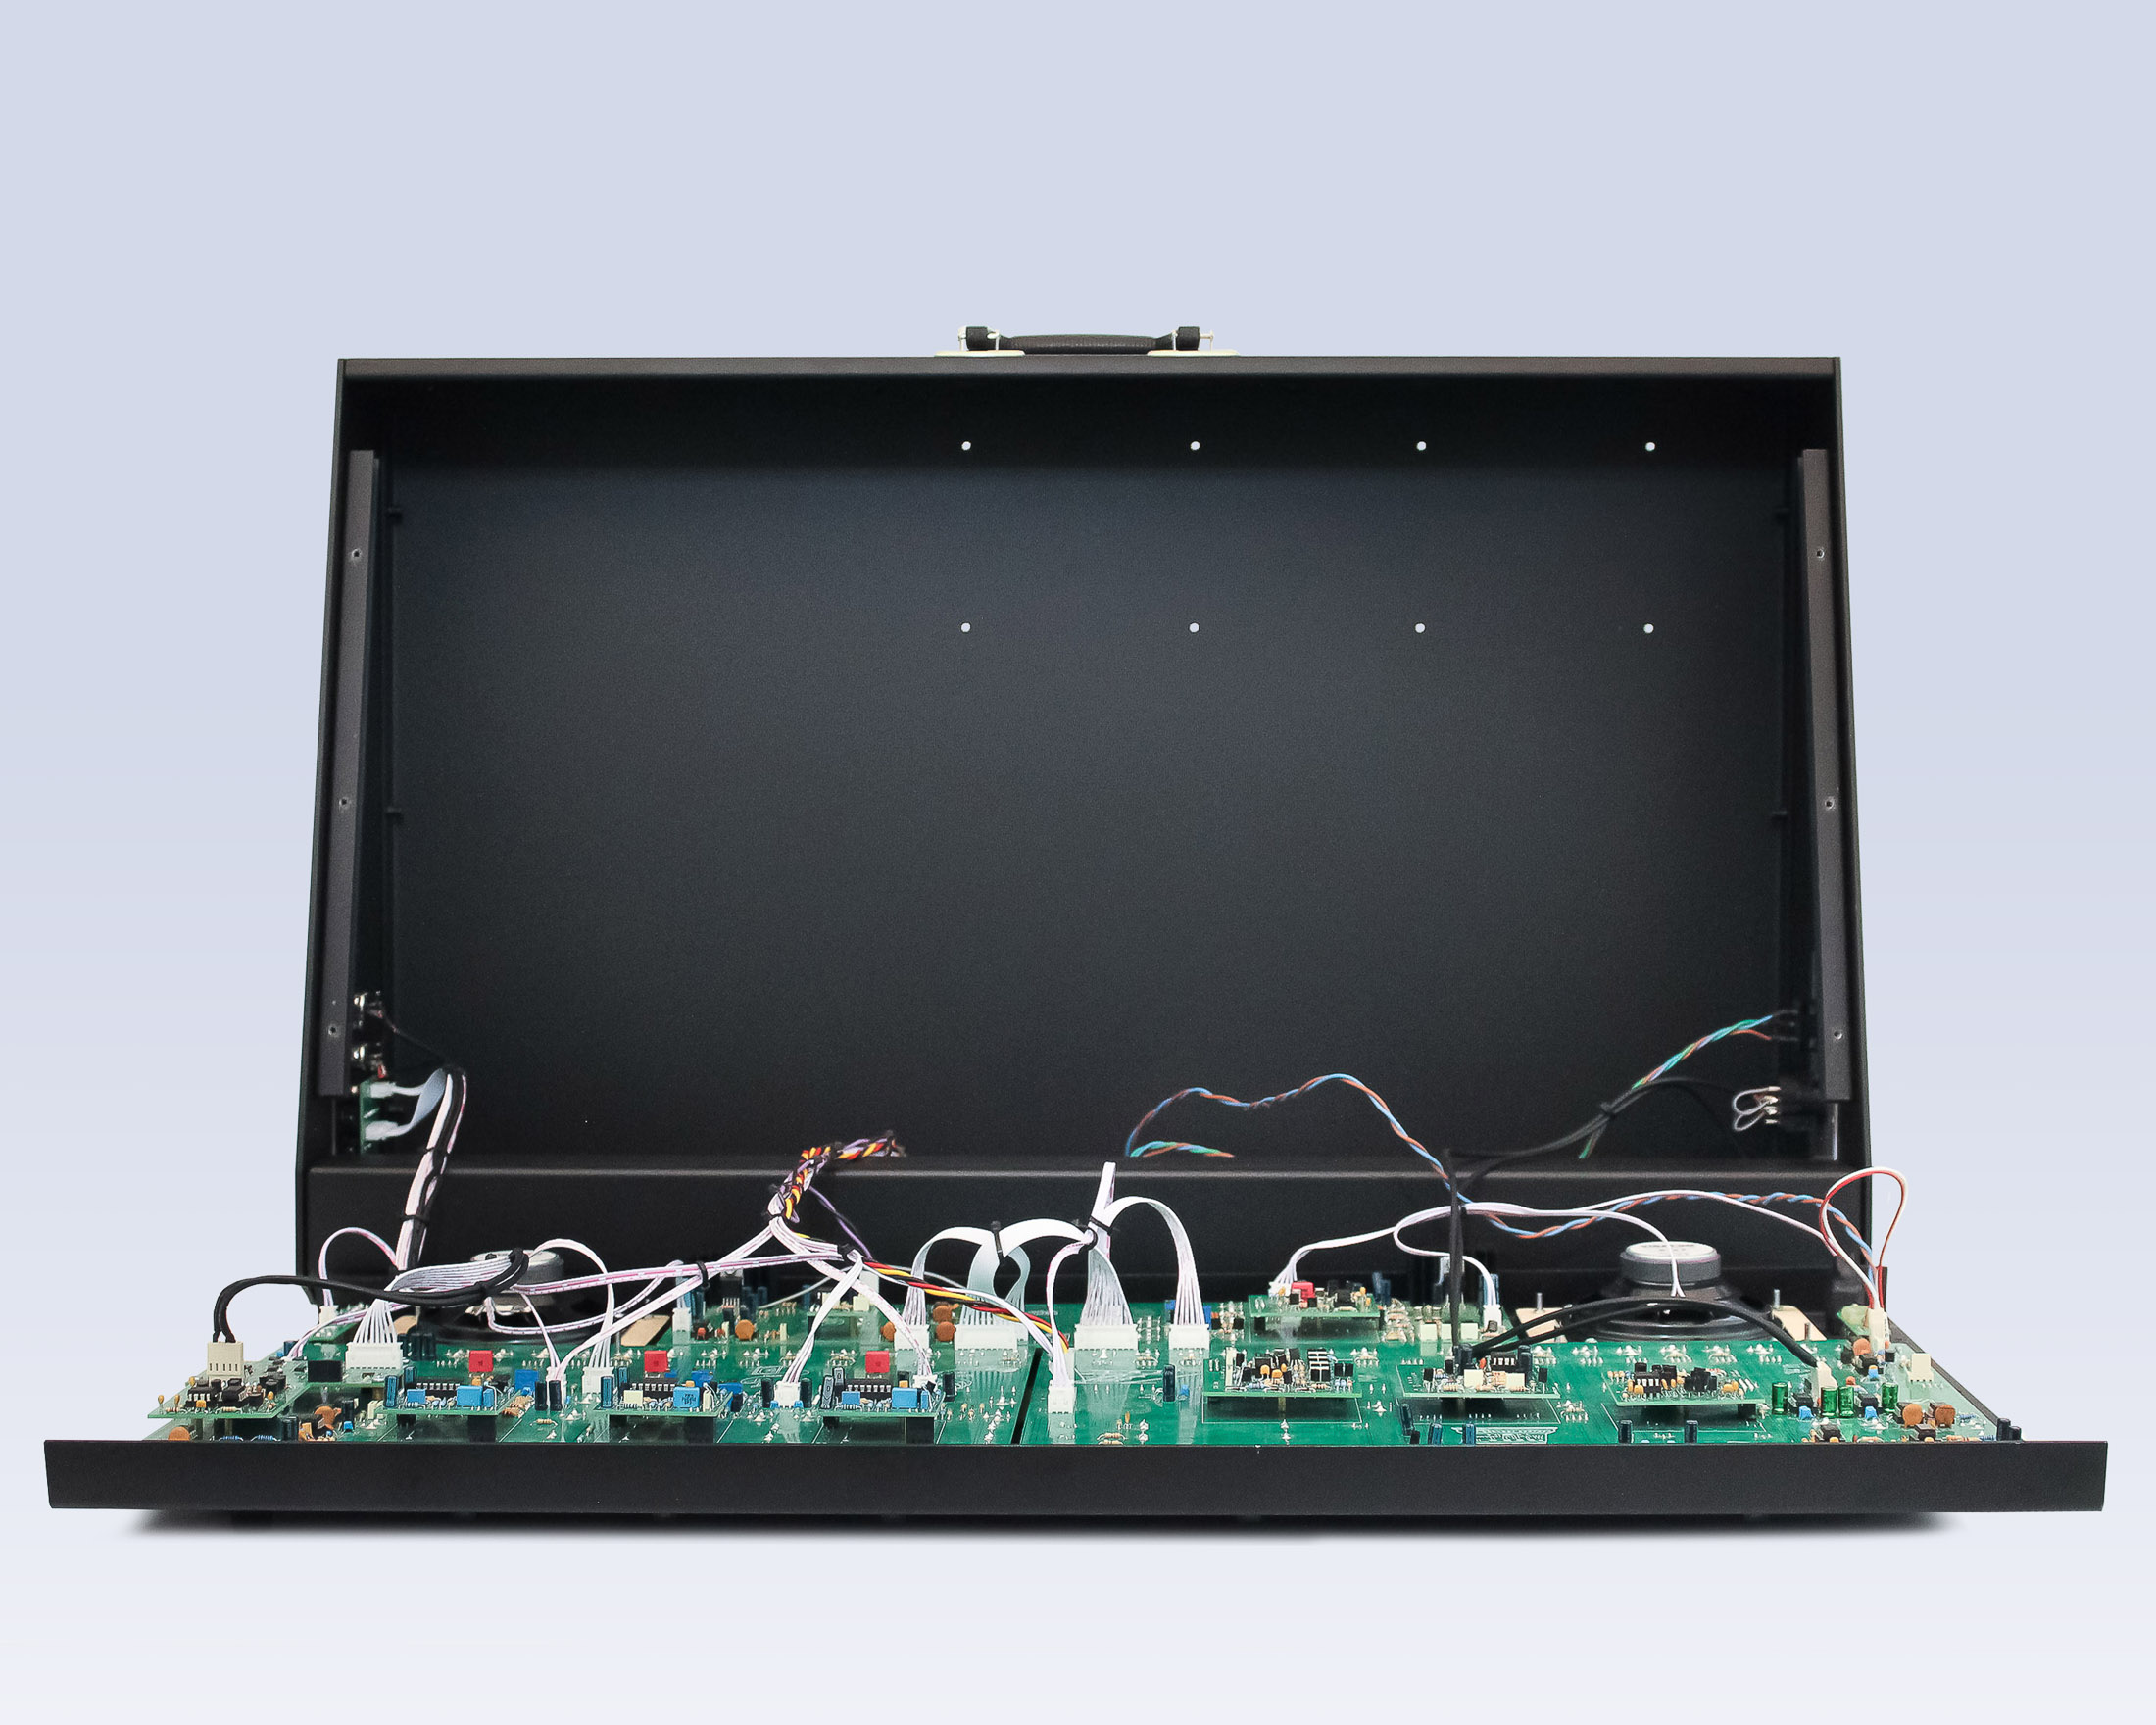
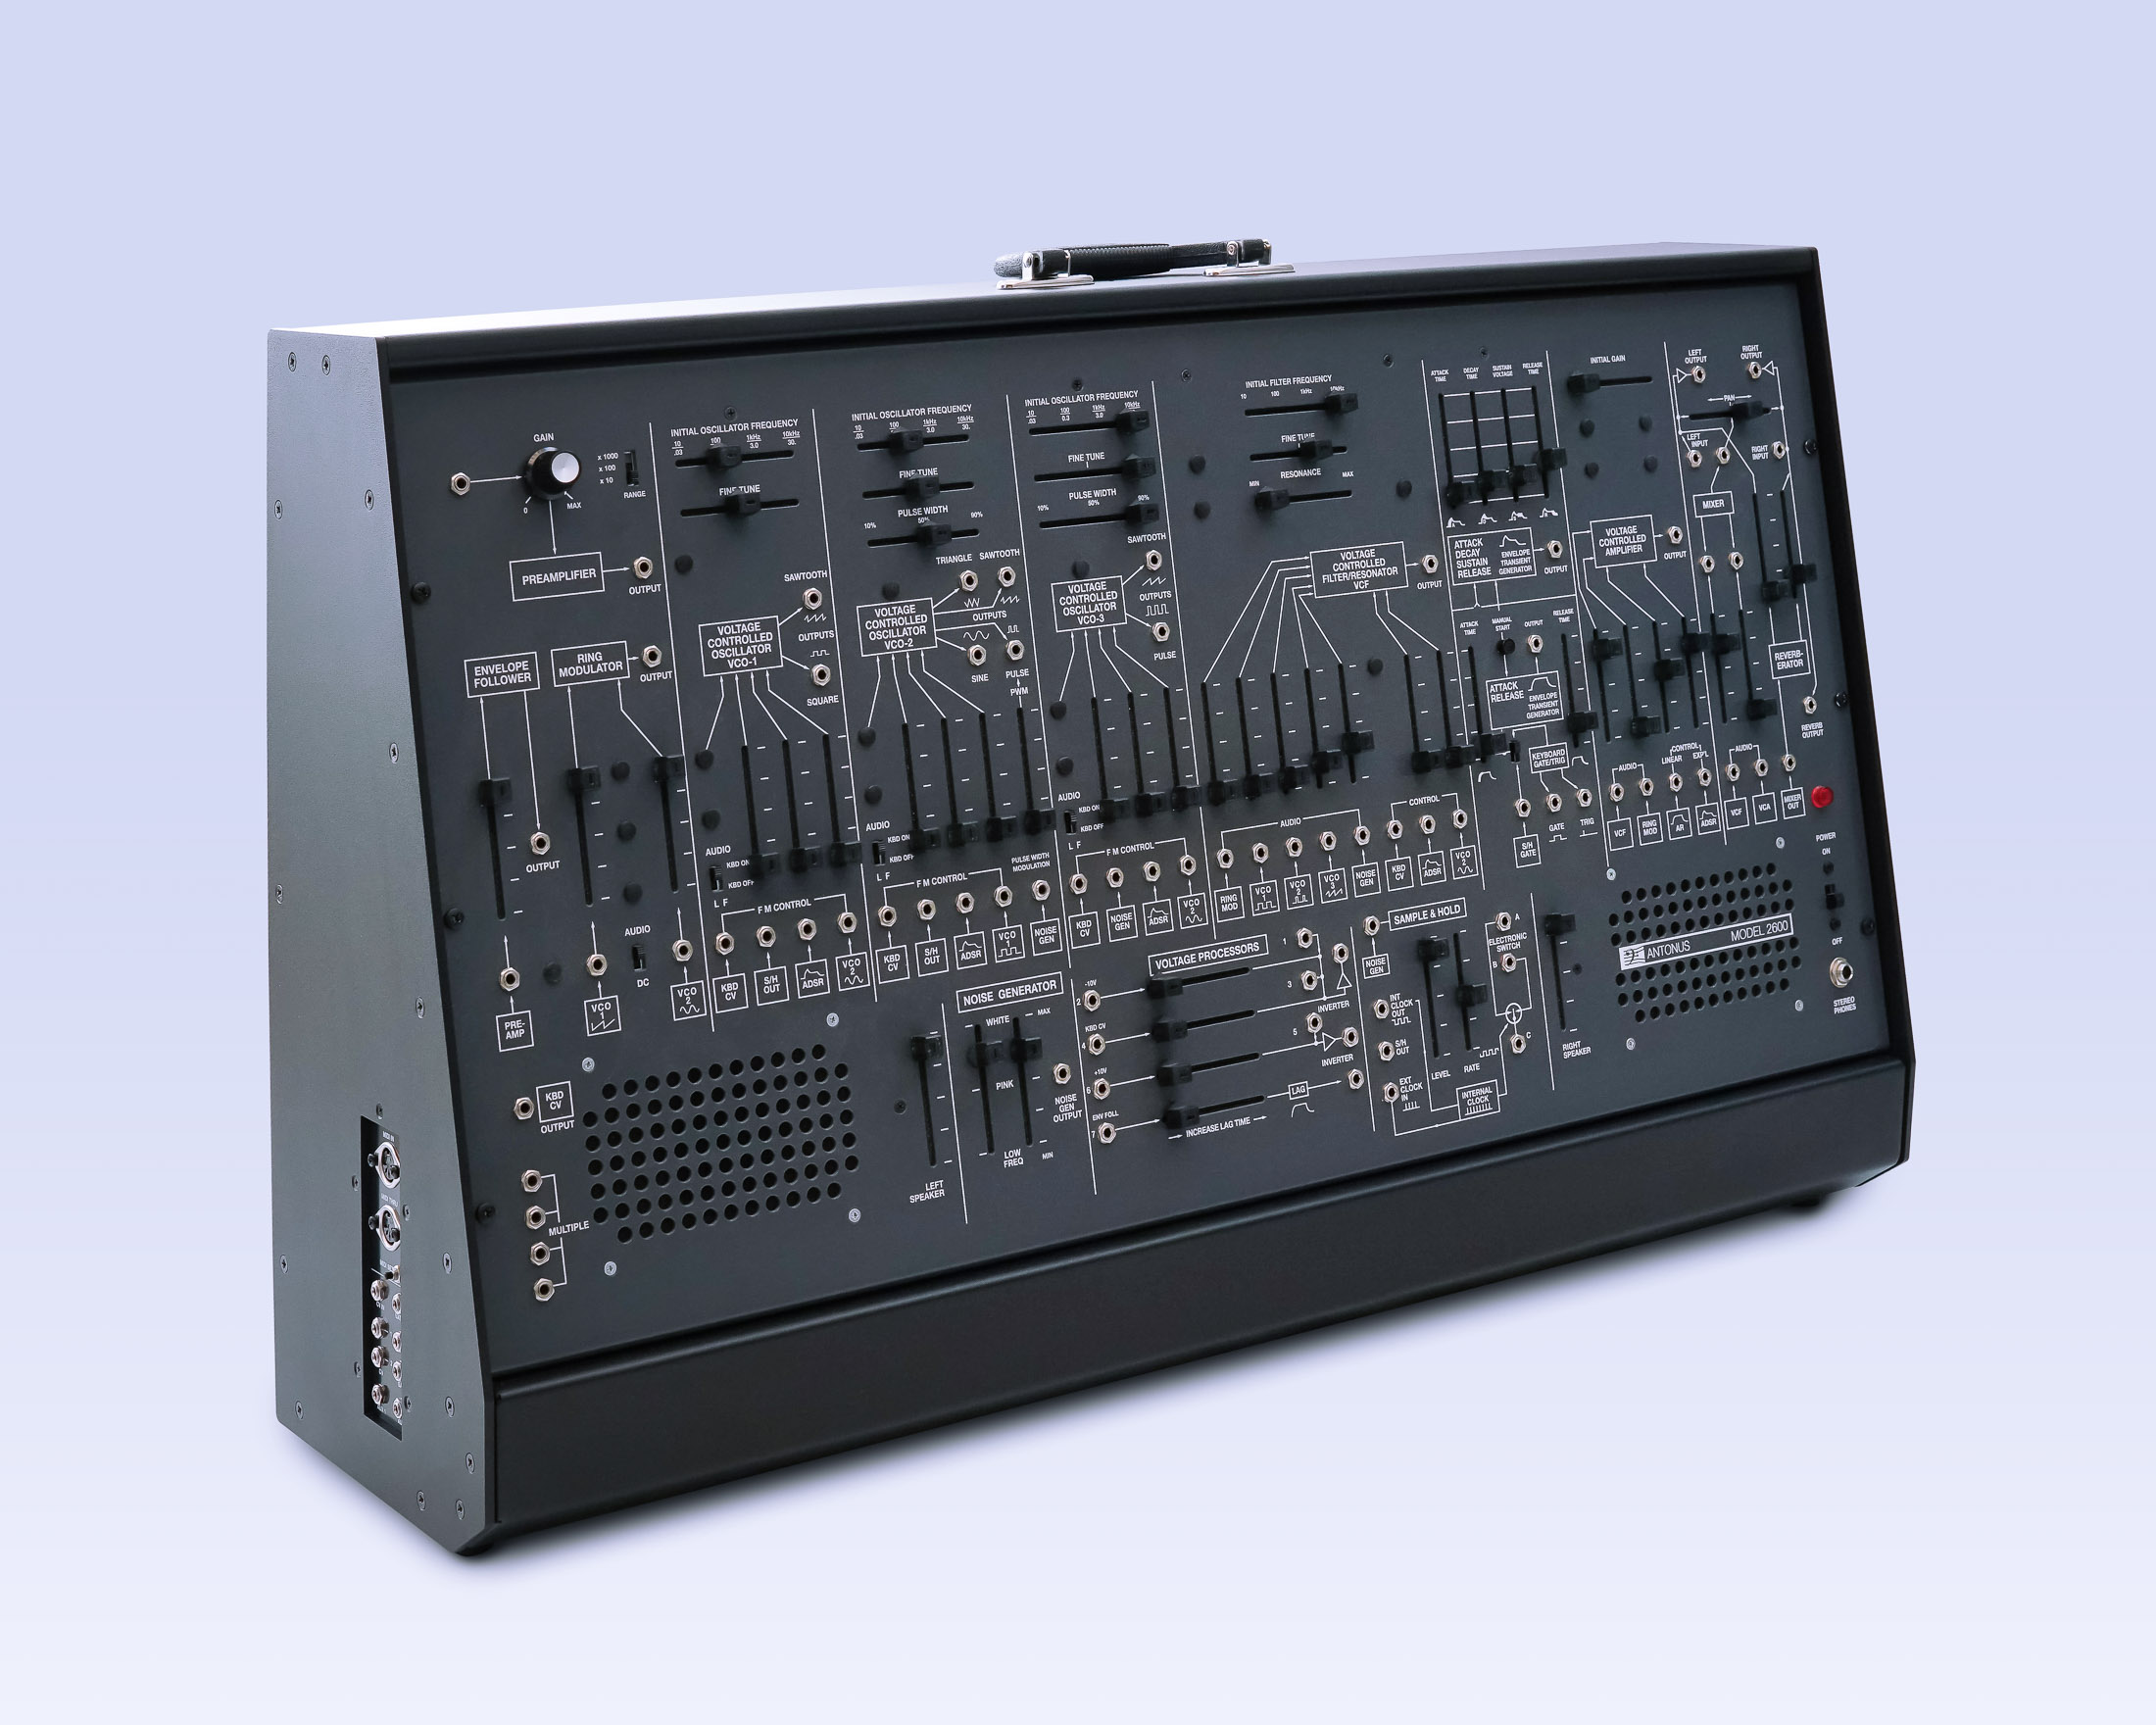
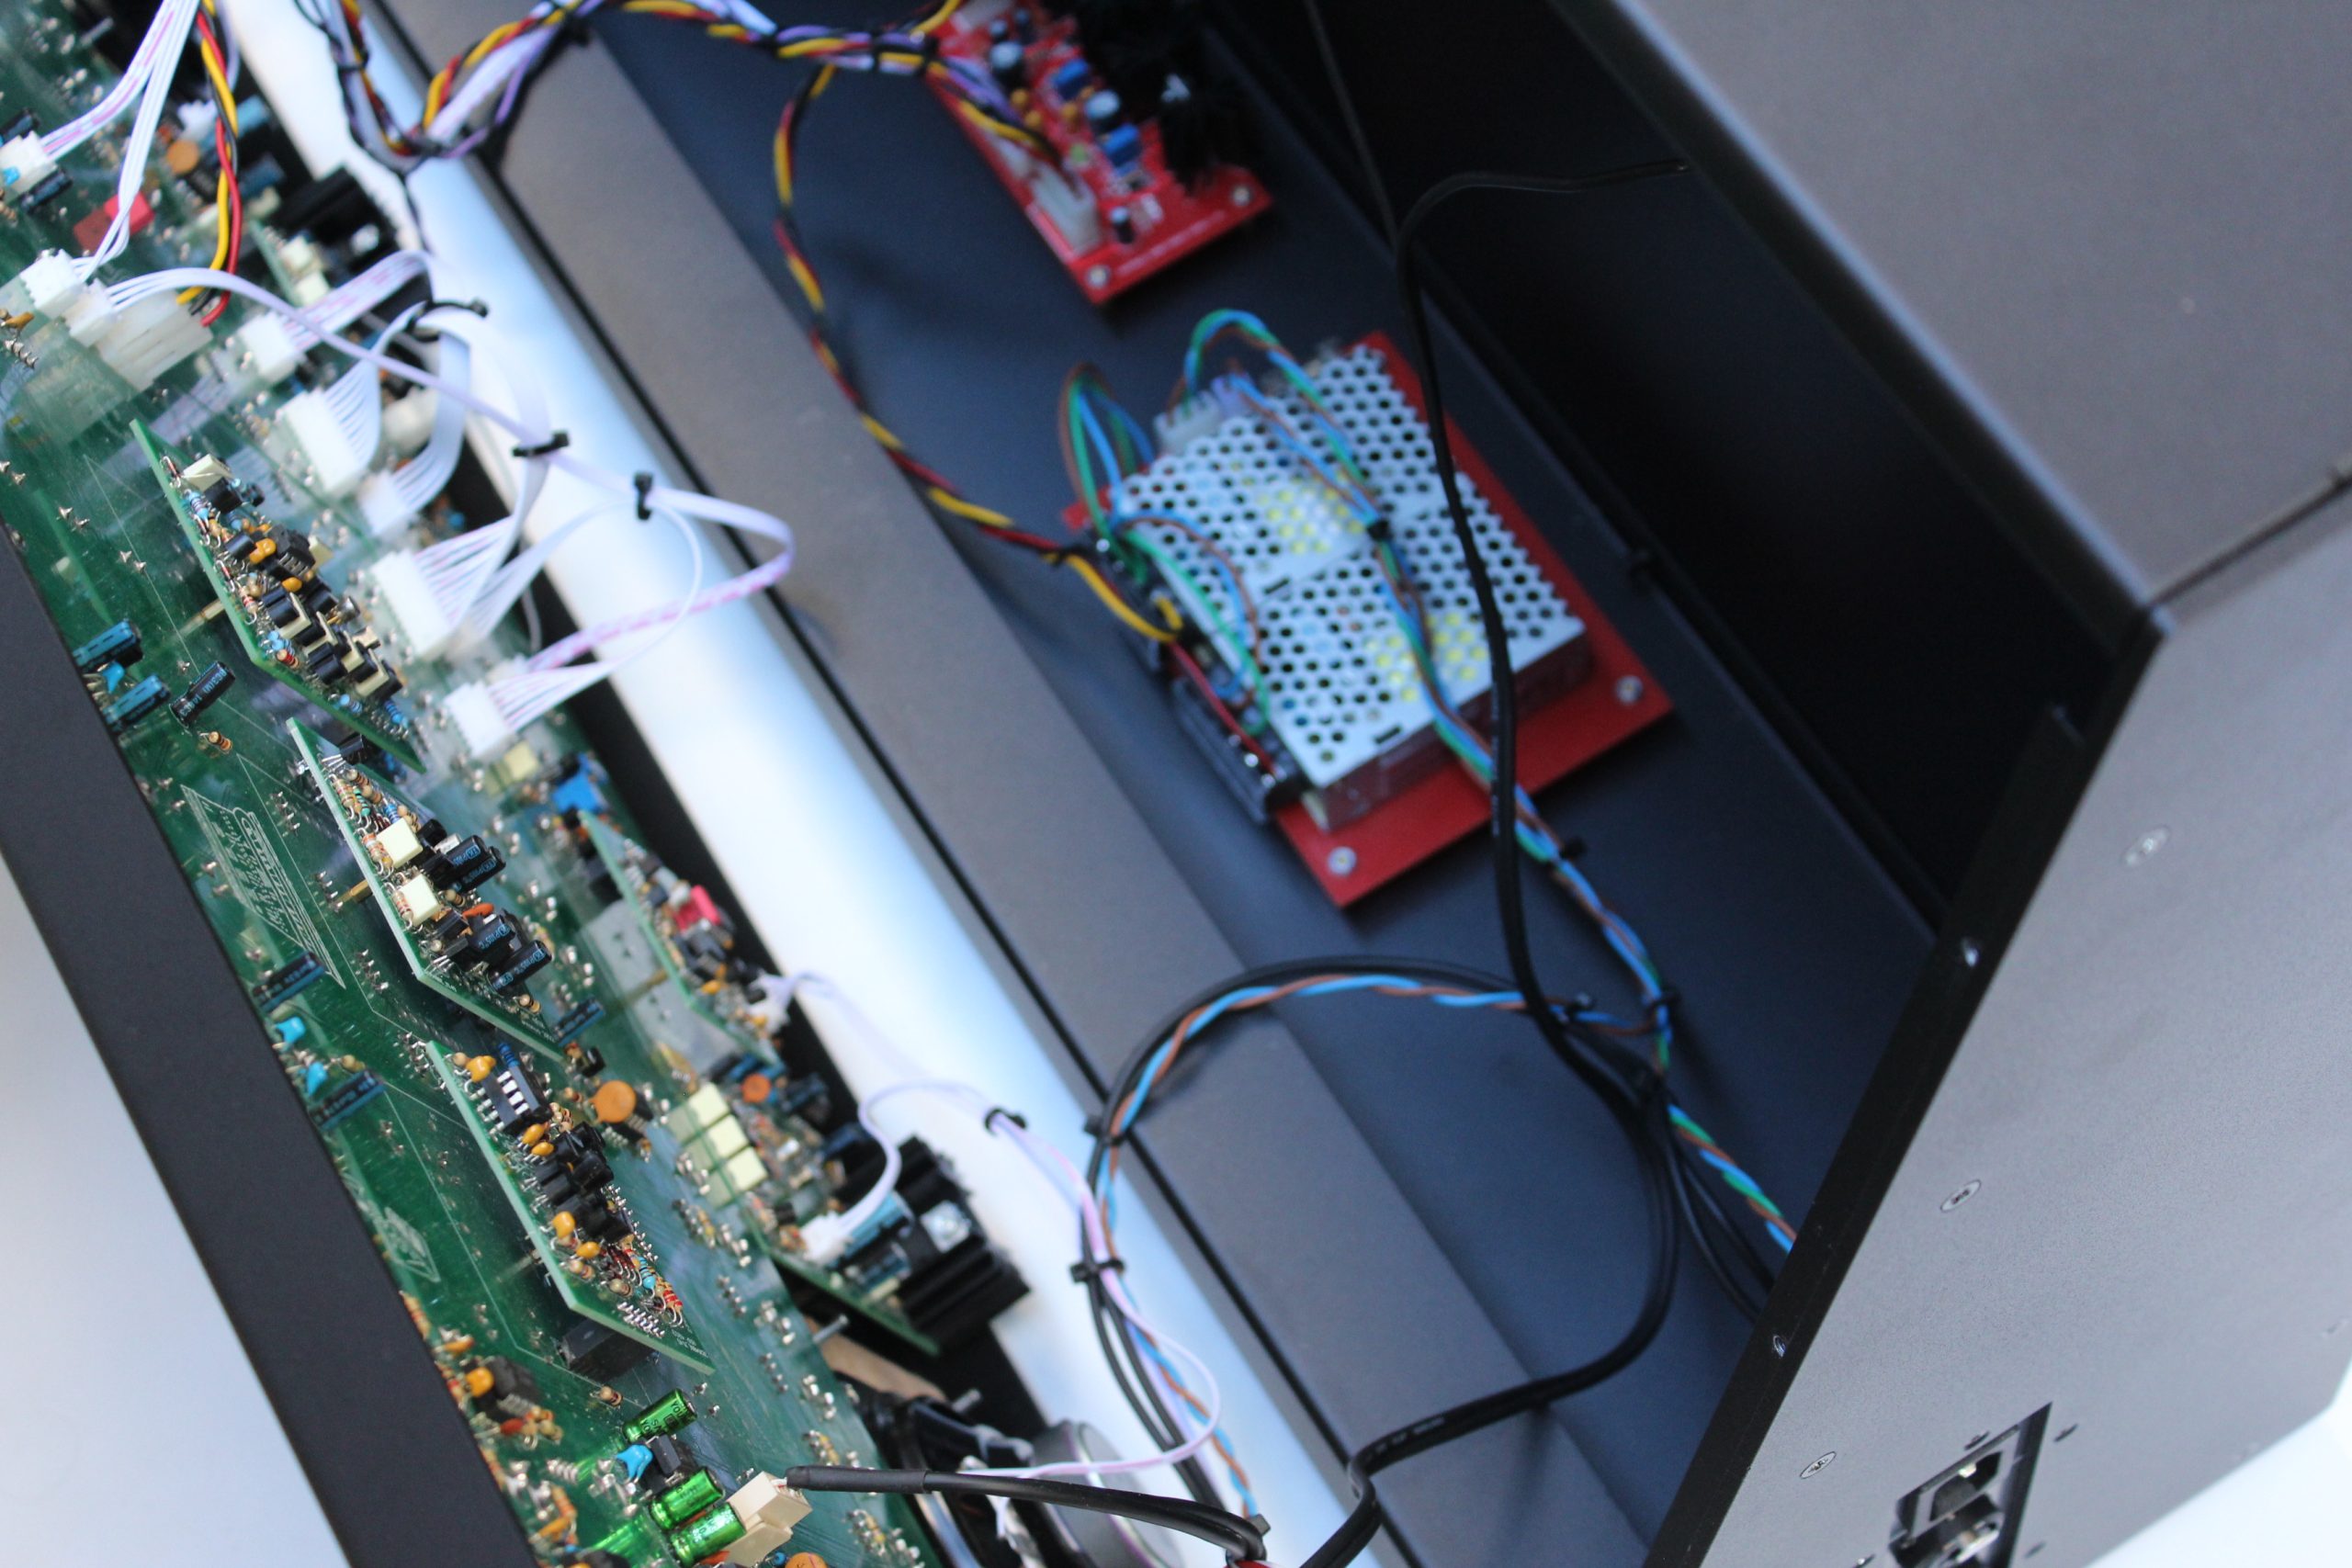

Front Panel Set
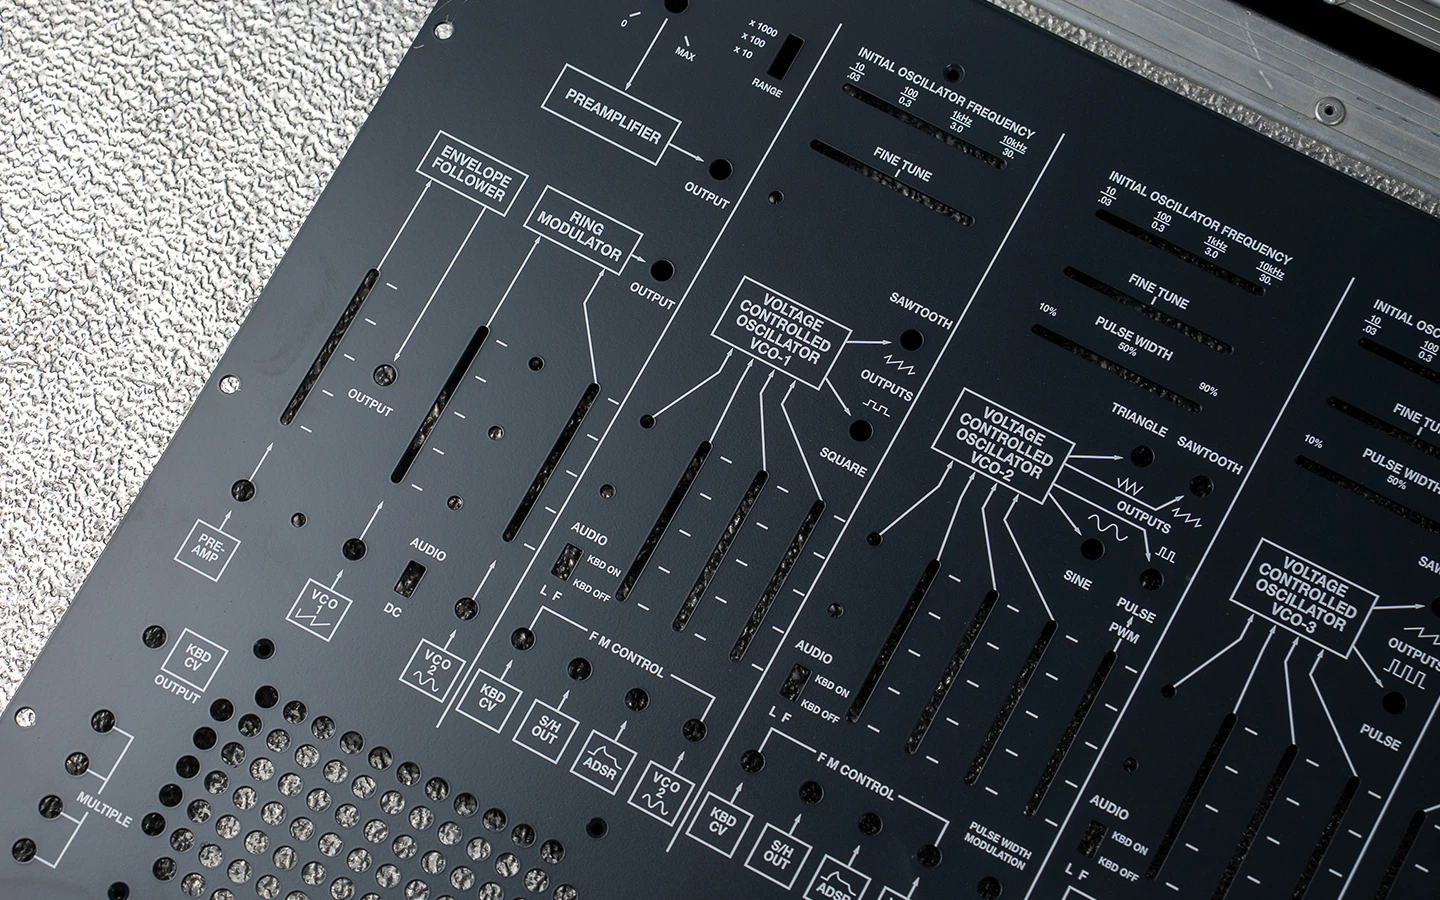
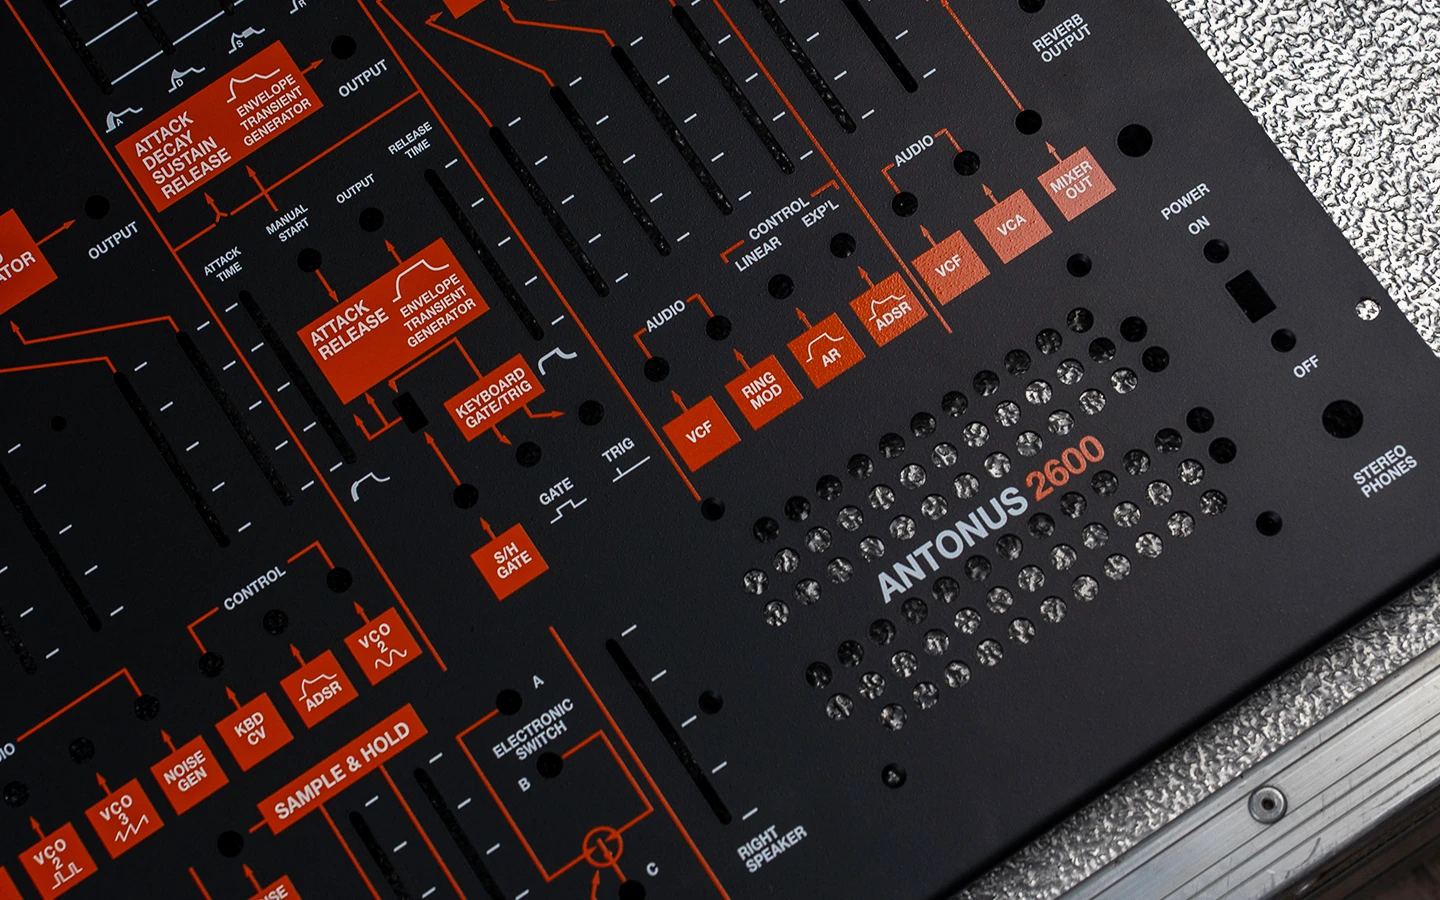
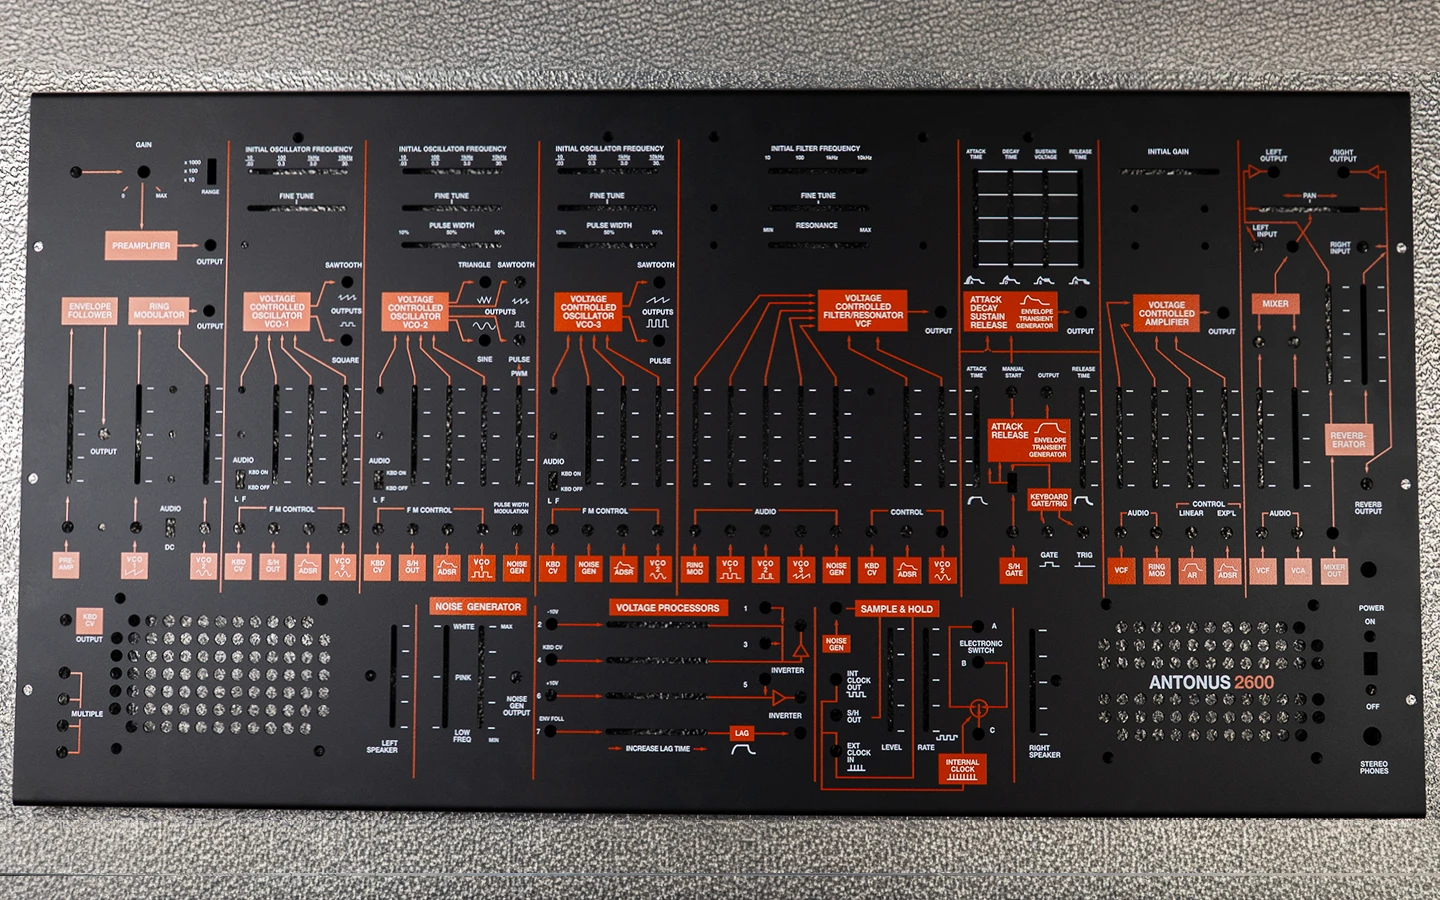
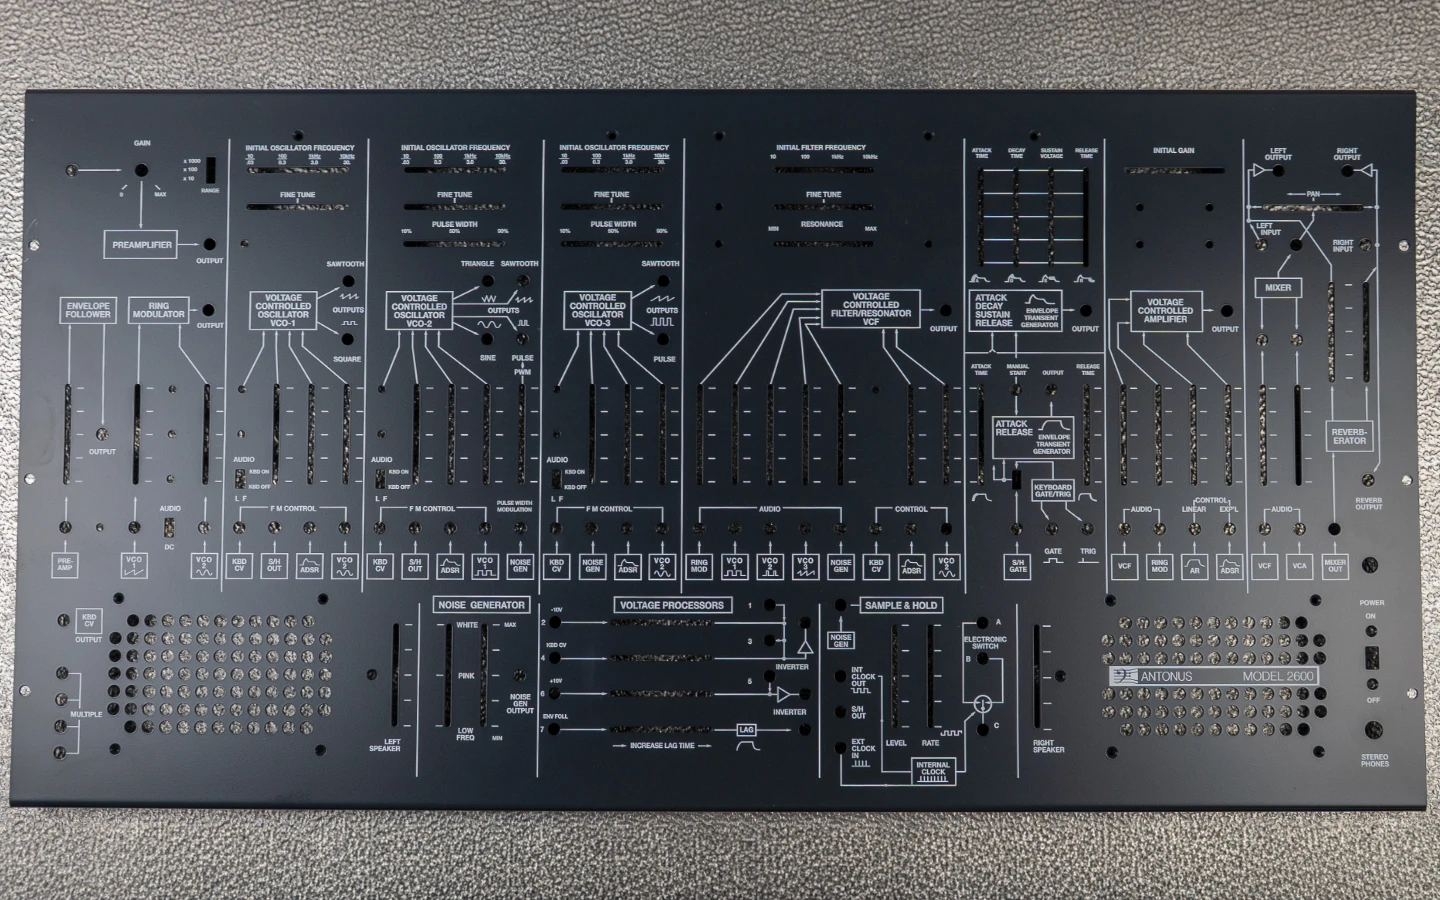
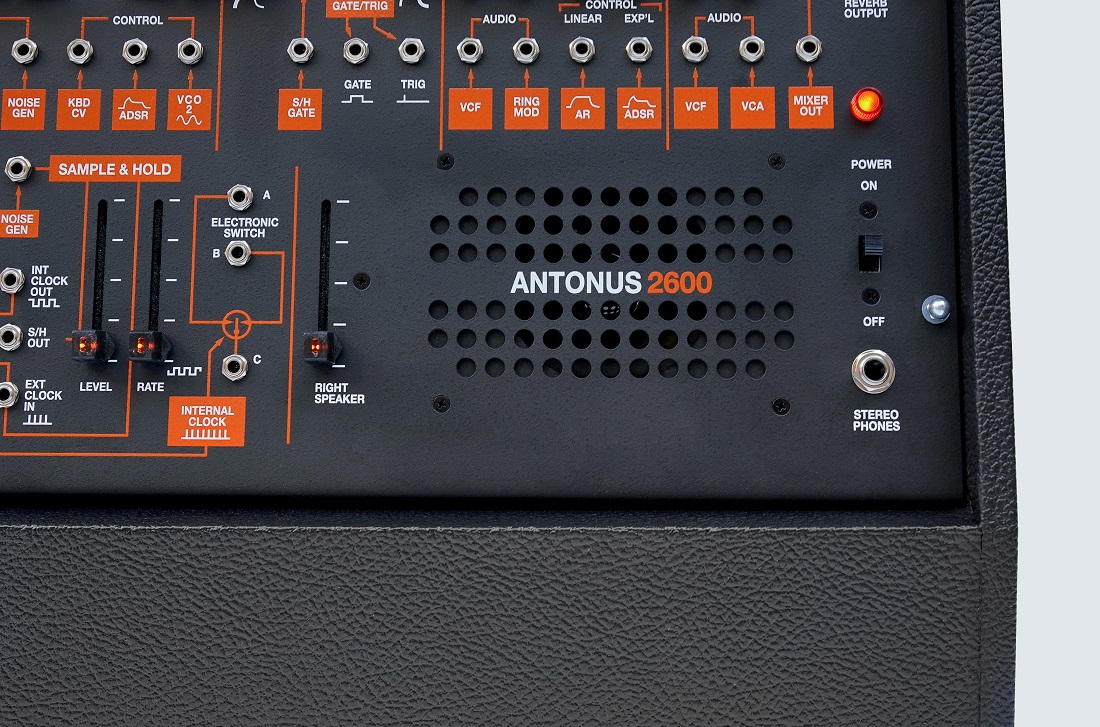
The Front panel kit for Model 2600 includes the following elements:
- Front panel grey face or orange models available
- Slider dust filters,
- Side panels for CV MIDI interface
- Side panel for AC in and balanced outs
- Wood frame for speaker
PCBs Set
The full PCBs panel set includes the following elements:
- x3 Main Boards
- x9 sub module boards
- x2 boards power supply
- x1 side panel board
- x1 multiple board
- x1 power switch board
Electronic Parts Set
The electronic parts set includes the following elements:
- Full kit of electronic, mechanical and electro mechanical parts (including standard parts and rare parts)
- Cables built, ready to connect.
You can dispense this kit if you prefer to source yourself just looking at the BOM files and making your own cables.
Cable Kit
This kit is dedicated to those who want to source most of the parts but prefer to have all the cables built. In that case, this is the kit for you.
You will have all the cables built, with all the PCB sockets, reverb tank also included, power ON /OFF switch, main transformer board full (built and wired), AC connector, Front Lamp, XLR-Jack combo connectors, Speakers and Midi connectors.
Partial Electronic Rare Parts Set
This kit is addressed for those adventurers who want to source most of the parts and want a really big challenge.
This kit includes: tempcos, rare transistors, lm301, ca046, etc.
Check the excel file for description and details
Tolex Case
This kit is for the tolex case ready to install all the kit.
Personalized colors available. Limited quantity per month, preorder needed to ensure the fabrication on time.
Metal Case
This kit is for the metal case. We delivered the case disarmed ready to be assembled for the user. Once assembled, it will be ready for installing the panels and all the boards.
Square Knobs Set
Inspired in the 2600 style we offer illuminated slider set of 58 pieces.
Duophonic MIDI to CV board set
This board comes built and programmed ready to be installed on the mainboard.


Selling Points
If you are interested in acquire this kit we offer three selling points:
1- Antonus (info@antonus-synths.com)
2- Synthcube
Kit Documents
For download and info resources
In the following zip file you will find all the documentation available to build the project.
A few tips we recommend to have in mind in case you want to purchase the kit:
Verify that you have experience building the unit using this documentation. It is a large project and there is no step by step building guide.
The BOM files suggested source and part numbers. Note that anyone can purchase the full electronic kit for have all parts verified and all cables done, use any of the other partial kits (rare parts, and cables)
For inquiries and evolution of the project you can consult the Modwiggler forum thread:
Also, we recommend for consulting a classic site for DIY builders, the Patrick Dslman site:
And last but not least, don’t miss the wonderful videos made by Zed Audiolab, one is a timelapse of the building process and the second video is about details of building, assembly and calibrating the equipment. Really useful for consulting and for having an idea of what this project means.